When you implement Nutanix AHV (Acropolis Hypervisor) all the available network cards (NICs) will by default be added the the single bridge (br0) created during the AHV installation and all the NICs attached to a network switch will be used. There are two ways available to determine the actual configuration:
- PRISM
- Click the Network link in the Drop Down menu to the left in PRISM and you’ll see an overview of AHV Networks, AHV Hosts and Network Switches.


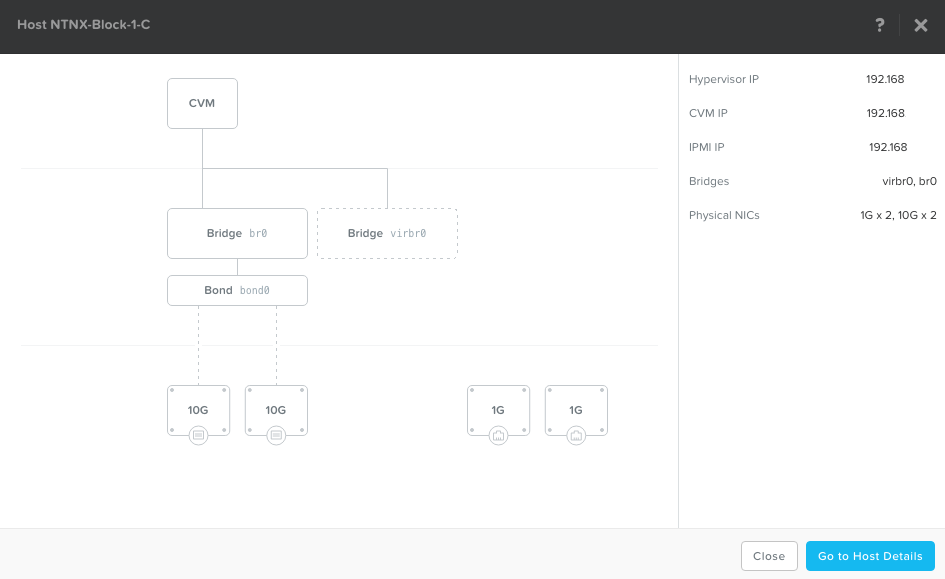
- Click one of the hosts, in my case NTNX-Block1-C and it will show you the Bridge to Bond to Physical Uplink structure in use. As you can see i got three NICs plugged in and all of them are used by Bond0. If i plugged in the second 1 Gbps interface it would also be used by Bond0.

- Click the Network link in the Drop Down menu to the left in PRISM and you’ll see an overview of AHV Networks, AHV Hosts and Network Switches.
- Command Line Interface (CLI)
- To show existing Bridges, run the command “allssh manage_ovs show_bridges” from any CVM in the cluster

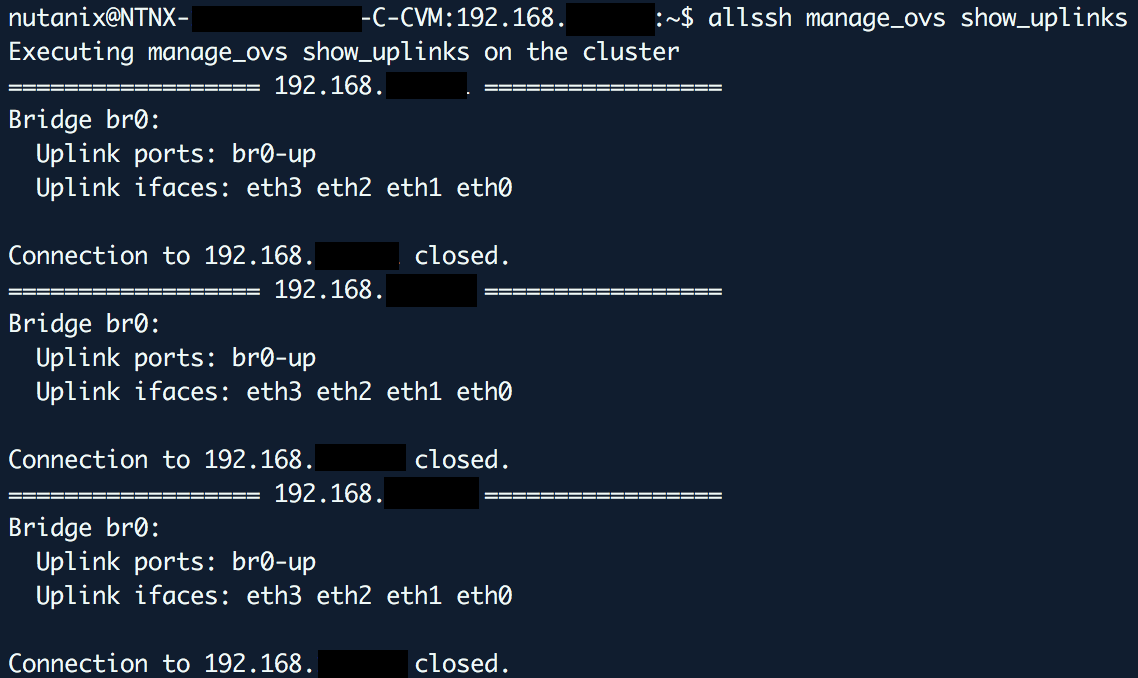
- To show physical interfaces attached to the bridge(s), run the command “allssh manage_ovs show_uplinks on any CVM in the Cluster.

- To show each NICs name, mode, link and speed, run the command “allssh manage_ovs show_interfaces” from any CVM in the Cluster.

- To show existing Bridges, run the command “allssh manage_ovs show_bridges” from any CVM in the cluster
Prism will show an alert if traffic is running on the 1 Gbps NICs.
To avoid running any traffic on the 1 Gbps NICs there are two simple commands available which will remove all the 1 Gbps NICs from the bond.
- Extremely simple command
- Simple command which requires input parameters.
Now let’s verify the new configuration.
- Prism
- Command Line Interface (CLI)


