
The other blog posts in the series are:
- Nutanix Self Service Portal Part I – Preparation & Initial Configuration
- Nutanix Self Service Portal Part II – Projects
- Nutanix Self Service Portal Part III – Roles
- Nutanix Self Service Portal Part V – VM management
- Nutanix Self Service Portal Part VI – Catalog Items
This blog post will include how to manage Images and will cover:
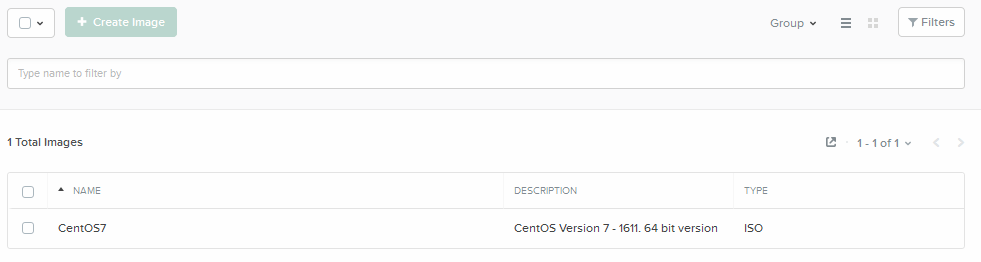
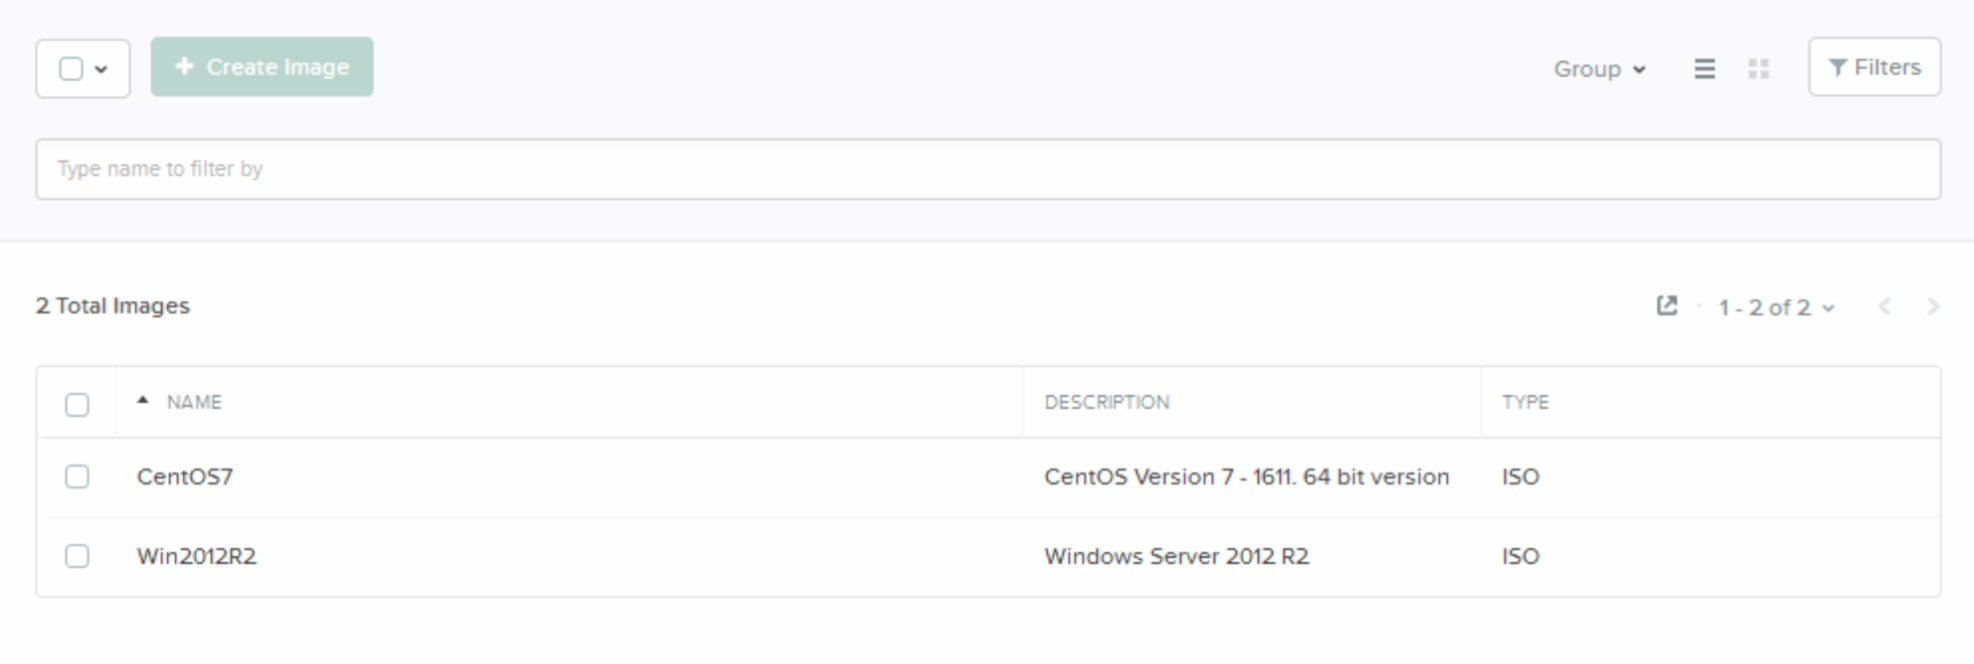
The Images section, which is accessible if your click Images on the left hand side, shows the Images available which by default is none.

Create Images
There are two ways to create images and both of them will make the image available in both SSP and in PRISM for the Nutanix Cluster (called PRISM in this blog post).
SSP
Follow the below procedure to create an image in SSP:
- Click Create Image

- Fill in and select the information required:
- Image Name
- Description
- Image Type which can be:
- ISO

- Disk

- ISO
- Image Source which can be:
- URL – accessible from SSP

- From File – on local computer or network share accessible via local computer

- URL – accessible from SSP
- Verify your settings and click Save

While the Image upload process is running you’ll see a grey/black small window at the top of SSP according to the below figure and just click x to the right to close it and the upload process will continue in the background:
![]()
When the upload is finished it will be displayed in the Images section of SSP.
PRISM
Follow the below procedure to manage Images via PRISM
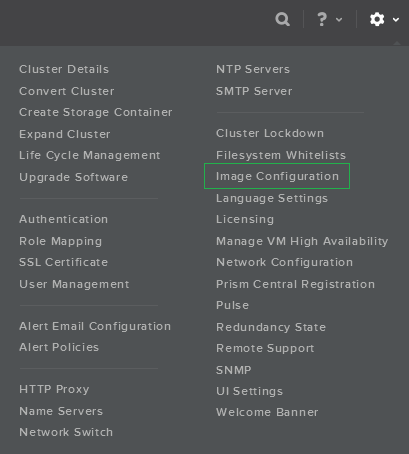
- Login to PRISM as a user with User Admin or Cluster Admin role and click the Gear Icon in the upper right corner and then select Image Configuration
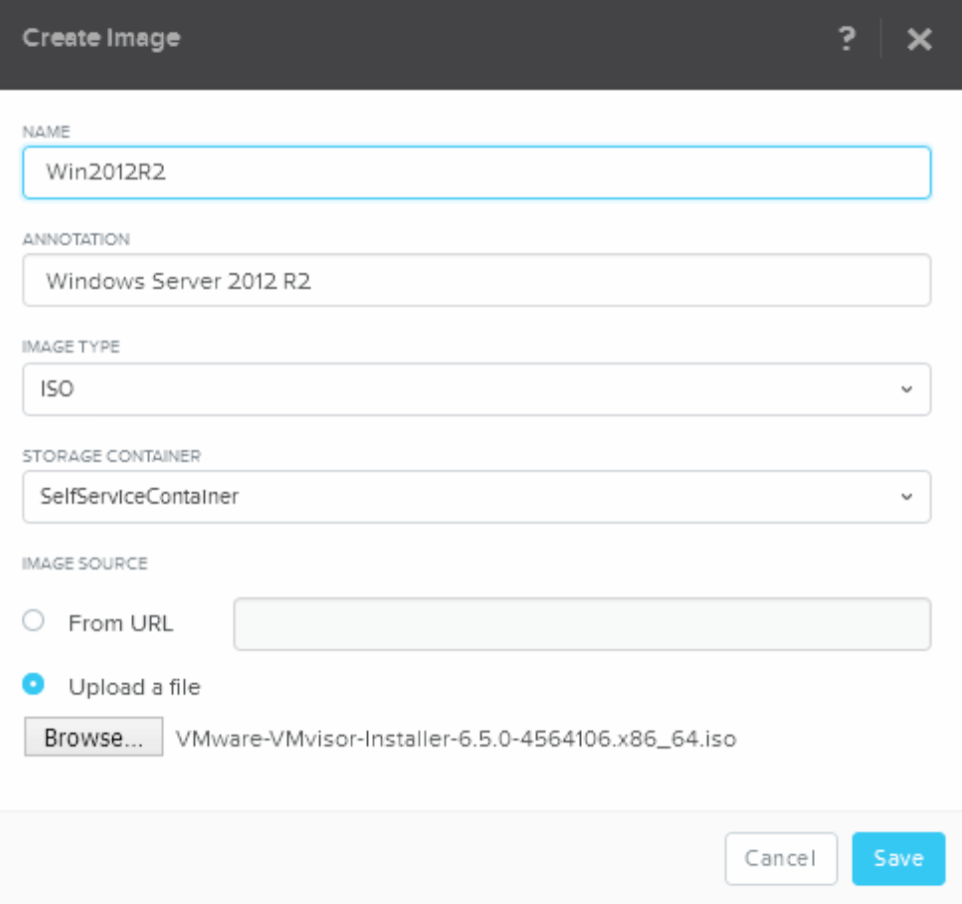
- Click Upload Image:

- Fill in the information required:
- Name
- Description
- Image Type – ISO & Disk available
- Storage Container – Select container available in the drop down list.
- Image Source – “From URL” and “Upload a file” are the available options
- Verify your settings and click Save
When the upload is finished both the CentOS and the Windows ISOs are available in both:
- PRISM
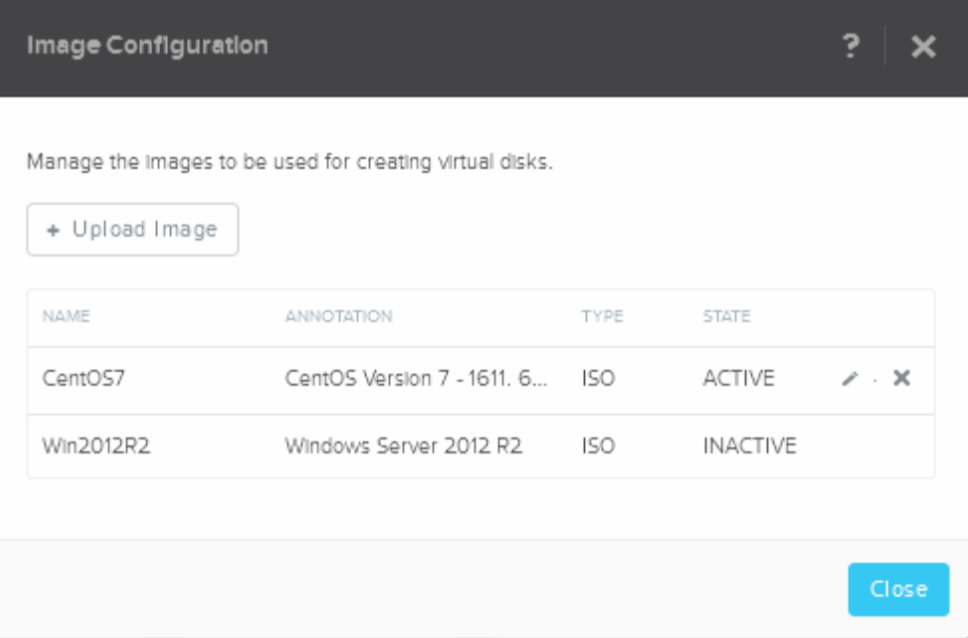
- SSP
Add To Catalog / Make Image Available For End Users
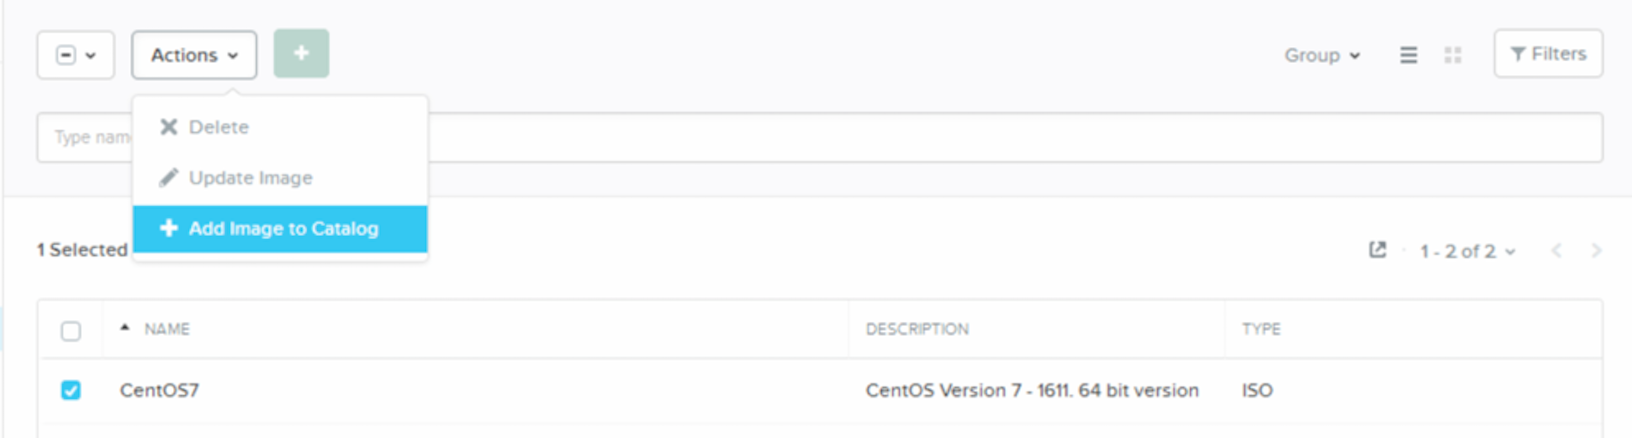
Now we have uploaded the Images to SSP so the last step is to make them available for our end users during the VM create process. Follow the below process to to that.
- Highlight the Image you want to make available for end users.

- Select “Add to Catalog” from the drop down list
- Give the Catalog item a Name and a Description and click Save
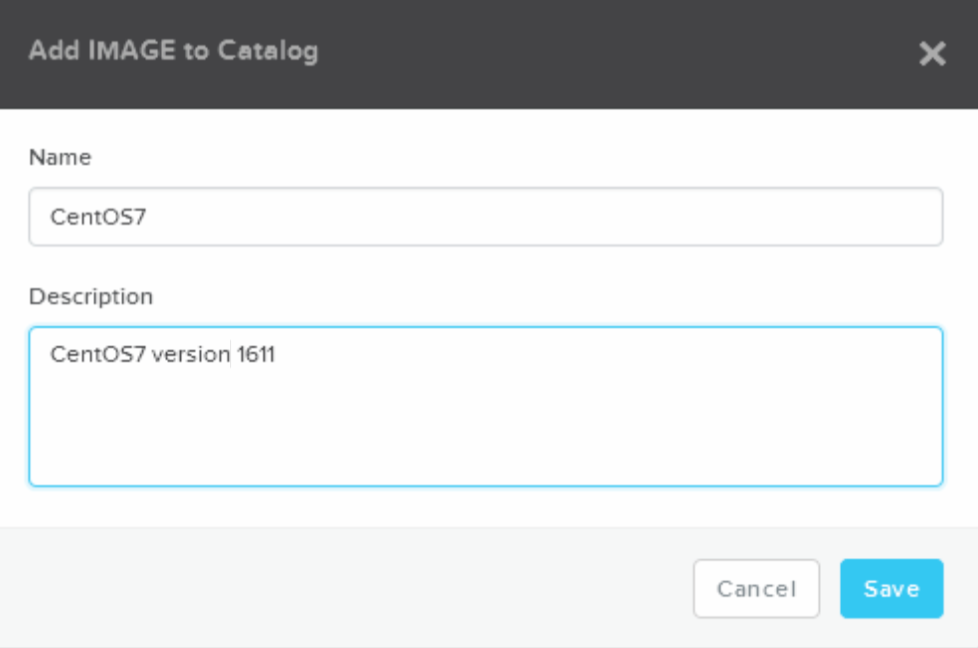
The Image has now been uploaded to the SSP Catalog and is by that available for end users. Follow the same procedure with the Windows 2012 R2 image and verify the catalog by clicking the link Catalog Items on the left hand side of SSP.

When adding an Image to the Catalog there will be one “Image create” and one “create_catalog_item” task created. This can be verified in PRISM via the Tasks section.

Update & Delete Images
You can easily Update or Delete your Image by highlighting the Image you want to Update or Delete.

Update Image
After highlighting the Image you want to update you select the “Update Image” link form the Action drop down box.
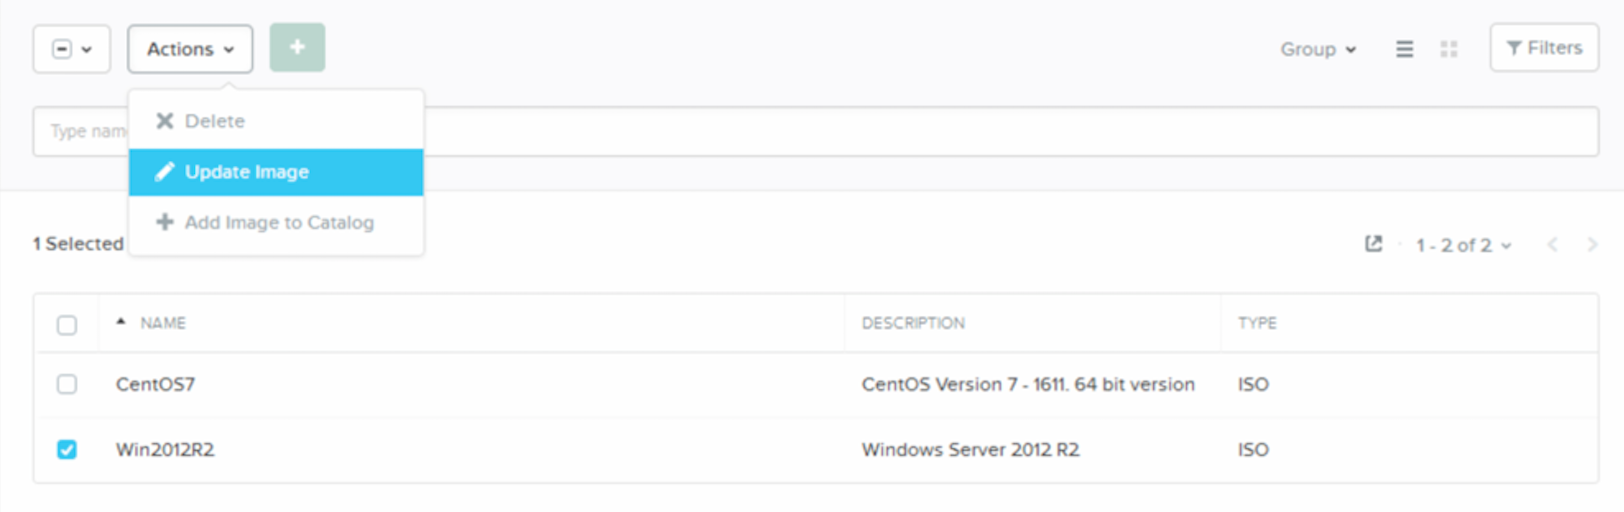
Then just change either Image Name or Description or both the fileds and click Save.

This update will not update the Catalog object information.
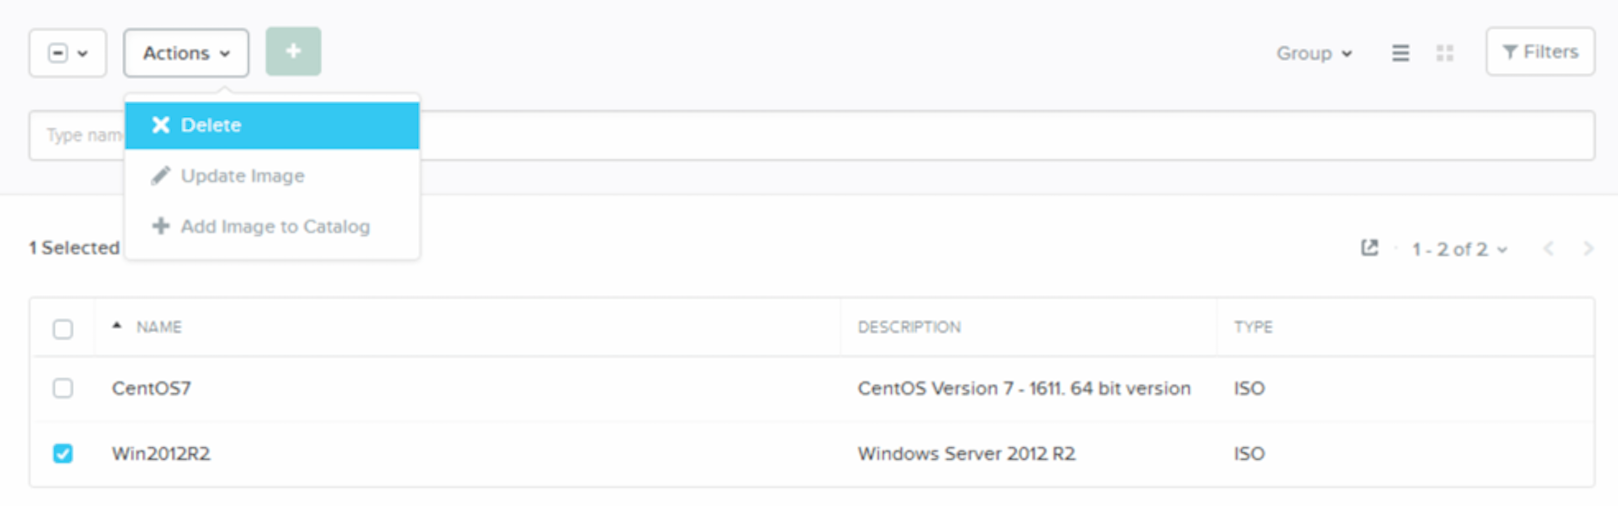
Delete Image
After highlighting the Image you want to delete you select the “Delete” link form the Action drop down box.
The click OK to confirm deletion of the Image and this will delete the Image from both SSP and PRISM.
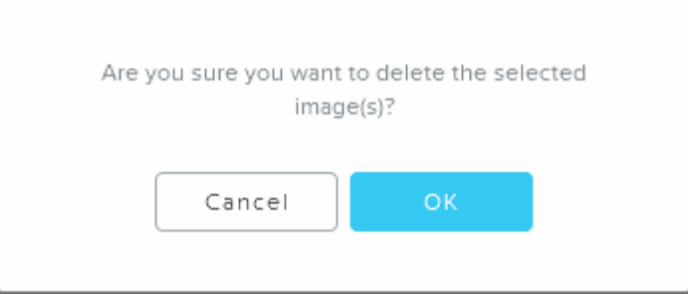
The Catalog Item will not be deleted so it’s just the Image that is being deleted and this can be verified via the Tasks section in PRISM.
![]()