This is the fifth blog post in the Nutanix Self Service Portal (SSP) blog post series.
The other blog posts in the series are:
- Nutanix Self Service Portal Part I – Preparation & Initial Configuration
- Nutanix Self Service Portal Part II – Projects
- Nutanix Self Service Portal Part III – Roles
- Nutanix Self Service Portal Part IV – Images
- Nutanix Self Service Portal Part V – VM management
This blog post will focus on Catalog Items and includes:
Catalog Items are used to make VMs and Images (ISO & Disks) available for SSP end users during VM creation.
Add Image To Catalog
Adding an Image to the Catalog actually adds a copy of the Image to the Catalog. This means the original Image can be deleted without the Catalog item being affected.
In the blog post about Nutanix Self Service Portal Part IV – Images i described how to add an Image to the Catalog so i will just show a picture about the scenario here.
Add VM To Catalog
A snapshot of the source VM is taken when a VM is added to the Catalog. This means you can continue to use the original VM, update the original VM and even delete the original VM without affecting the Catalog Item. After a VM has been added to the catalog it is available to all users with the permission to create a VM.
In the blog post about Nutanix Self Service Portal Part V – VM Management i described how to add VM to the Catalog so i will just show a picture about the scenario here.
Deploy VM From Catalog Item
From VM Template
Since we have already added a VM to the Catalog as described in the Nutanix Self Service Portal Part V – VM Management blog post we will now create a VM from the VM Template. Follow the below procedure to create a VM from a Catalog Item
- Click Create VM

- Select VM Template

- Select the Template you want to use. In my case the CentOS7-VM

- Fill out the VM Deployment information including:
- Name
- Target Project – Only Project DevA available at this point in time but if the user belongs to multiple Projects they will all be available in the drop down list.
- Disks – In my case the CDROM was automatically created and then i added one additional hard disk with the size of 40 GB.
- Click New Disk
- Fill in the size
- Click save
- Select Network – Only dev network available in my case but if you got more available networks which is controlled by the SSP admin they will be in eluded here.
- Advanced Settings let’s you configure:
- CPU – This is the actual VCPU(s) and not Number of Cores Per vCPU
- Memory
- Review your settings and click Save


Check the End User home screen where all the VMs are located to verify the new VM called app01 was created.
Click the check box next to the VM to interact with it or click the VM Name to get to the specific VM view. Read more about the actions available when clicking the check box next to the name and select Actions and the specific VM view in the Interact with the VM section in the Self Service Portal Part IV – VM Management blog post
From Disk Image
In the blog post Nutanix Self Service Portal Part V – VM Management i described how to create a VM form Disk (which can be either a disk or an ISO) Image. Click the above link or the below figure to see the procedure.
Delete Catalog Item
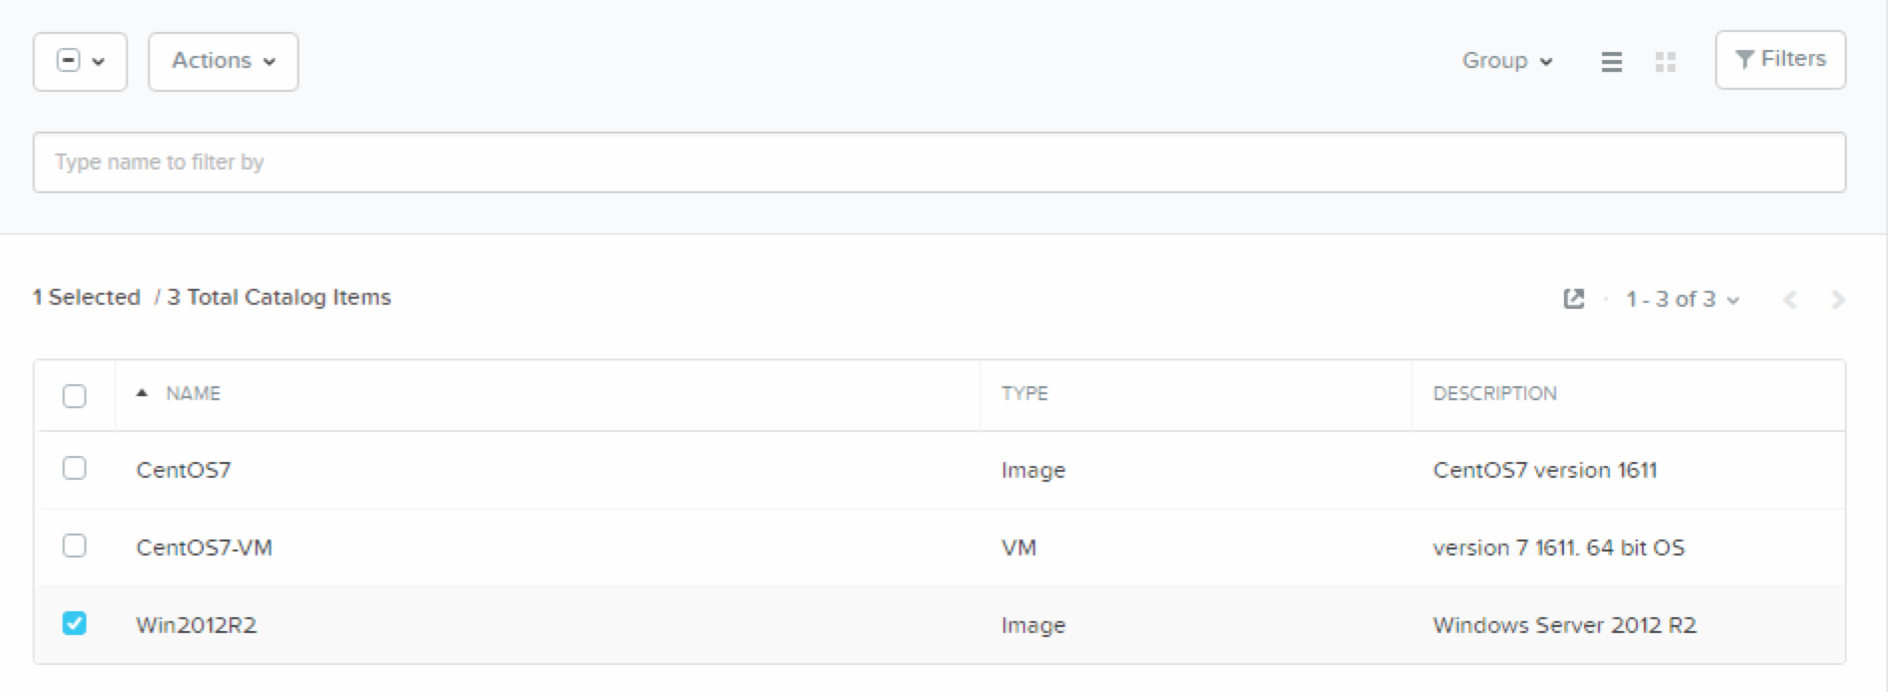
You can easily Delete your Catalog by following the below procedure.
- Highlight the Catalog Item you want to Delete.

- Click Delete Catalog Item from the Actions drop down list.

- Click Ok to complete the delete action.

- Verify the Catalog Item is deleted.


2 pings