This is a follow up post to the Nutanix AHV, OpenStack & vRealize Automation released a few weeks ago. My colleague Gabe Contreras put this one together and it will show you how to configure a vRealize Automation (vRA) Openstack Endpoint, create a vRA reservation, and create a vRA blueprint for provisioning to AHV.
Follow the below steps to successfully deploy AHV based VMs on Nutanix via vRealize Automation.
- Login to your vRA 7 Tenant with a user that has full Administrator and Architect permissions. Then once logged in go to Infrastructure -> Credentials and add the Admin credentials for your Openstack Project that you created before.

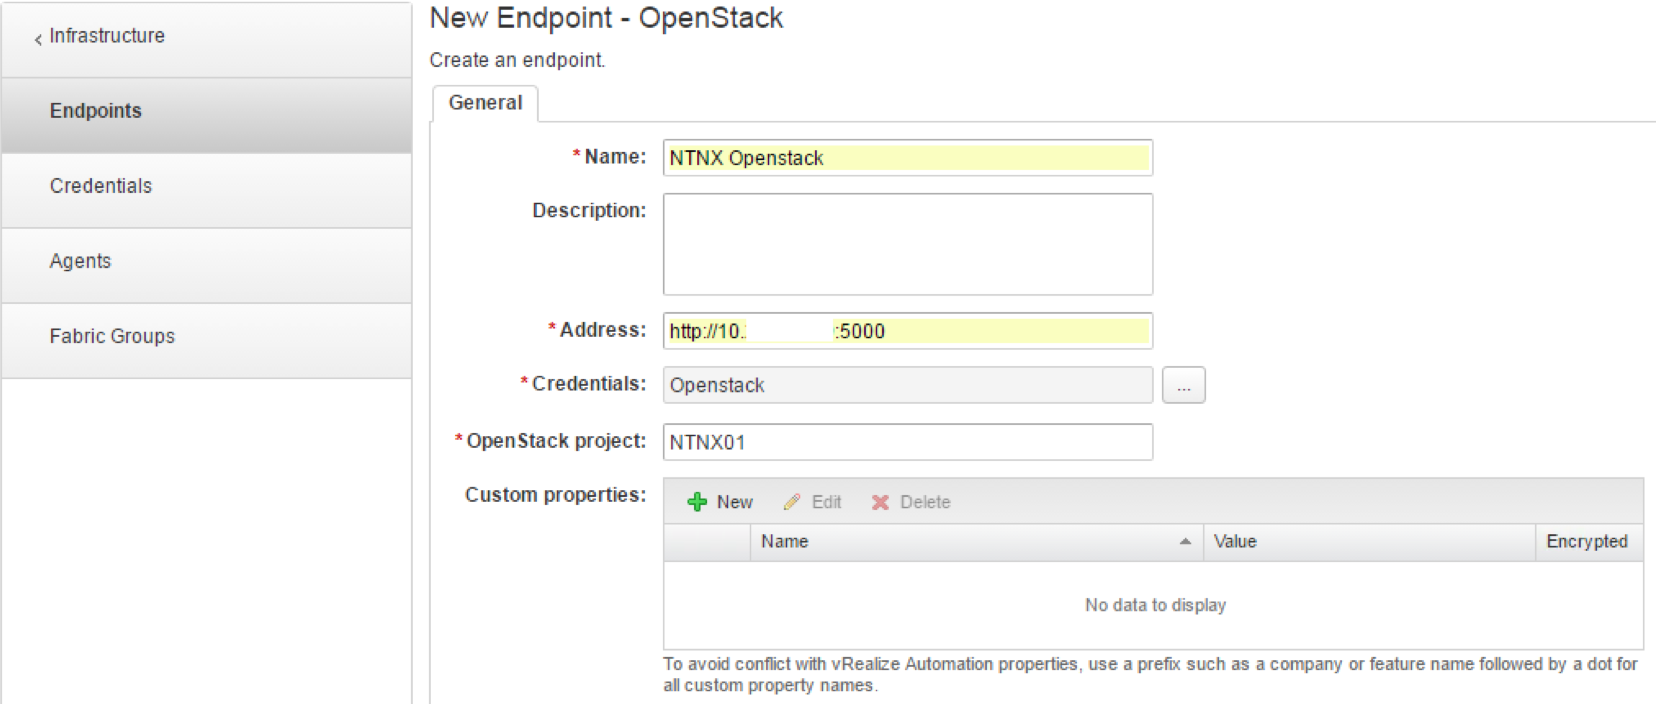
- Create the EndPoint via clicking Infrastructure -> Endpoints -> New -> Cloud -> Openstack. Fill out the following information:
- Verify the configuration works by mouse over the Endpoint and verify Data collection is successful.

- Enable the OpenStack Resource for your Fabric group via Infrastructure -> Fabric Groups
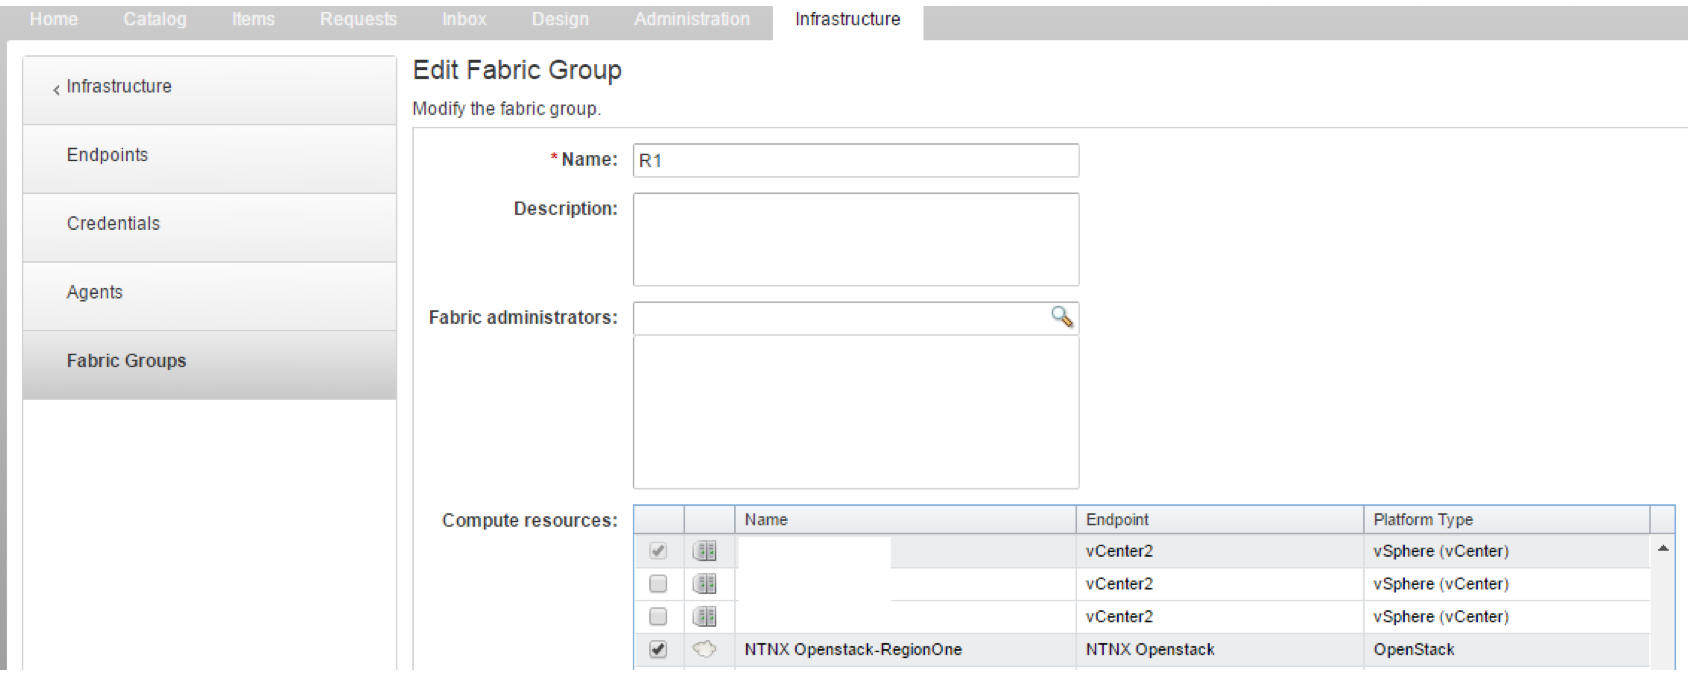
- Create the vRA the Reservation via Infrastructure ->Reservations -> New ->Openstack.
- On the General tab just fill out a name, I am not using any reservation Policy and putting priority of 1.
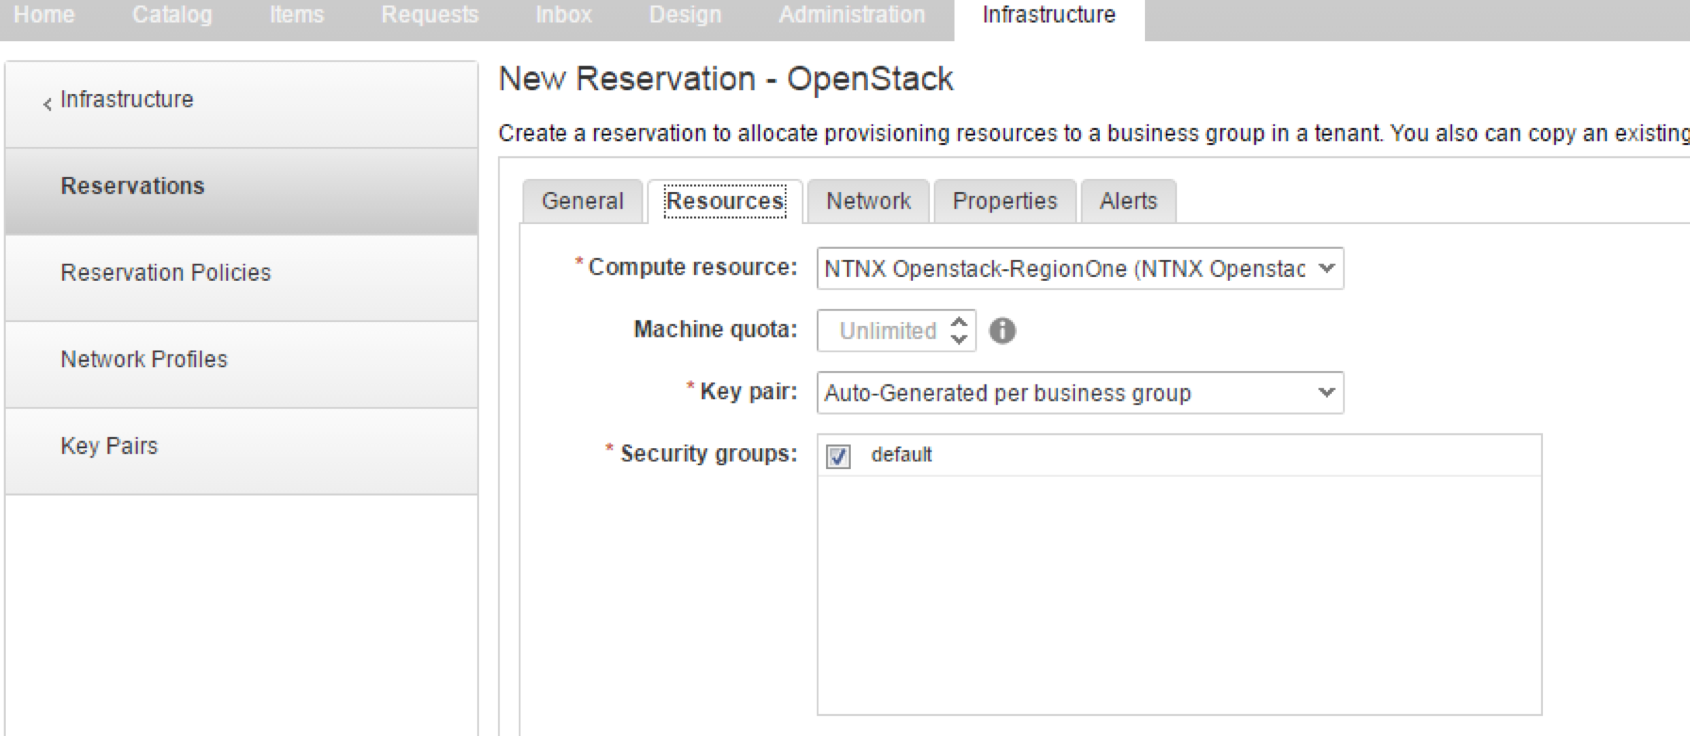
- On the Resources tab in the drop down select the Openstack Resource you created, any machine quota if you want one, I choose for Key Pair on a per business group basis, and default Security group.
- On the Network tab we have two networks created for two separate VLAN’s. Select both and there will be no Network Profile created because AHV will be handling the IP assignments.

- We are not entering anything under Properties or Alerts for this use case. Click OK to create the Reservation.
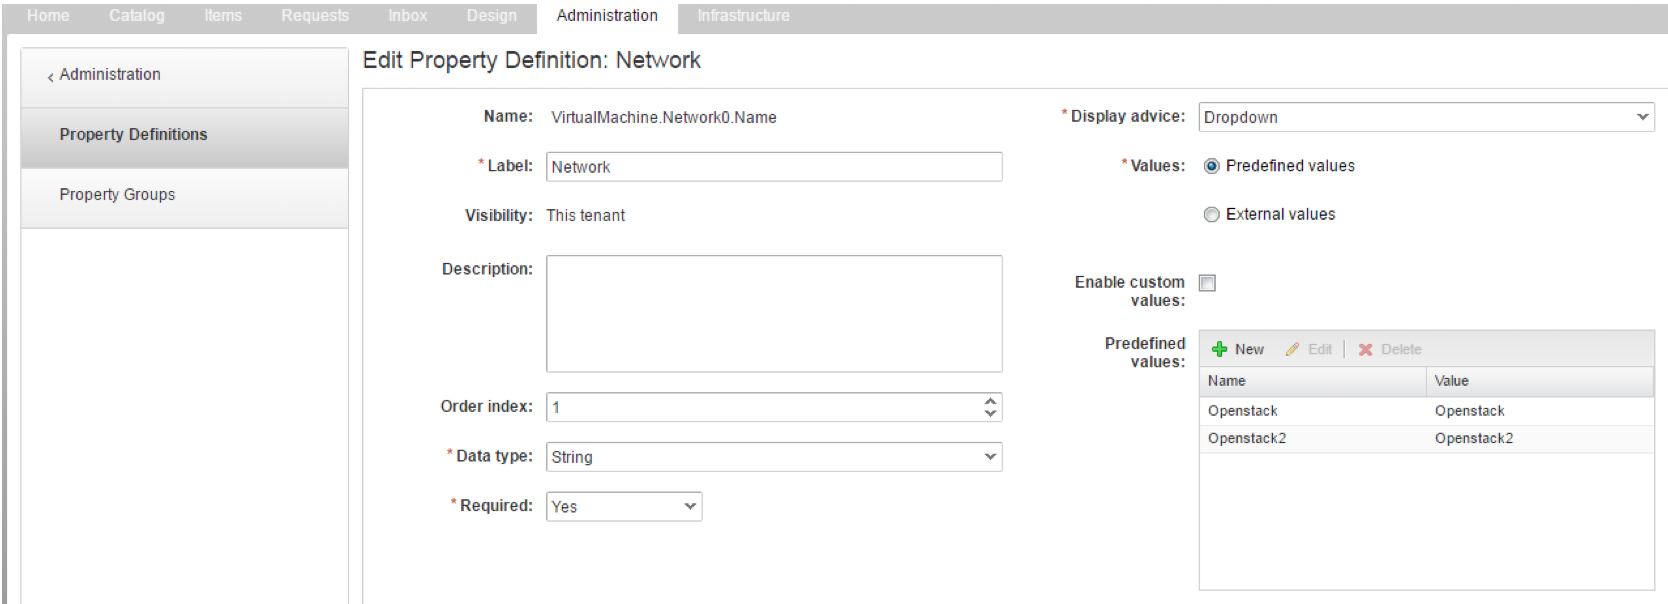
- Create a VirtualMachine.Network0.Name property definition for the two networks via Administration > Property Dictionary > Property definitions. Add the Network Property definition to a Property group which you will use later.
- Create the first template and in this case it will be based on CentOS Image already present in OpenStack. Go to Design > Blueprints and select New.
- In the initial Windowjust name it CENTOS7 and an archive of 30 days, leave all other properties the defaults and select OK.
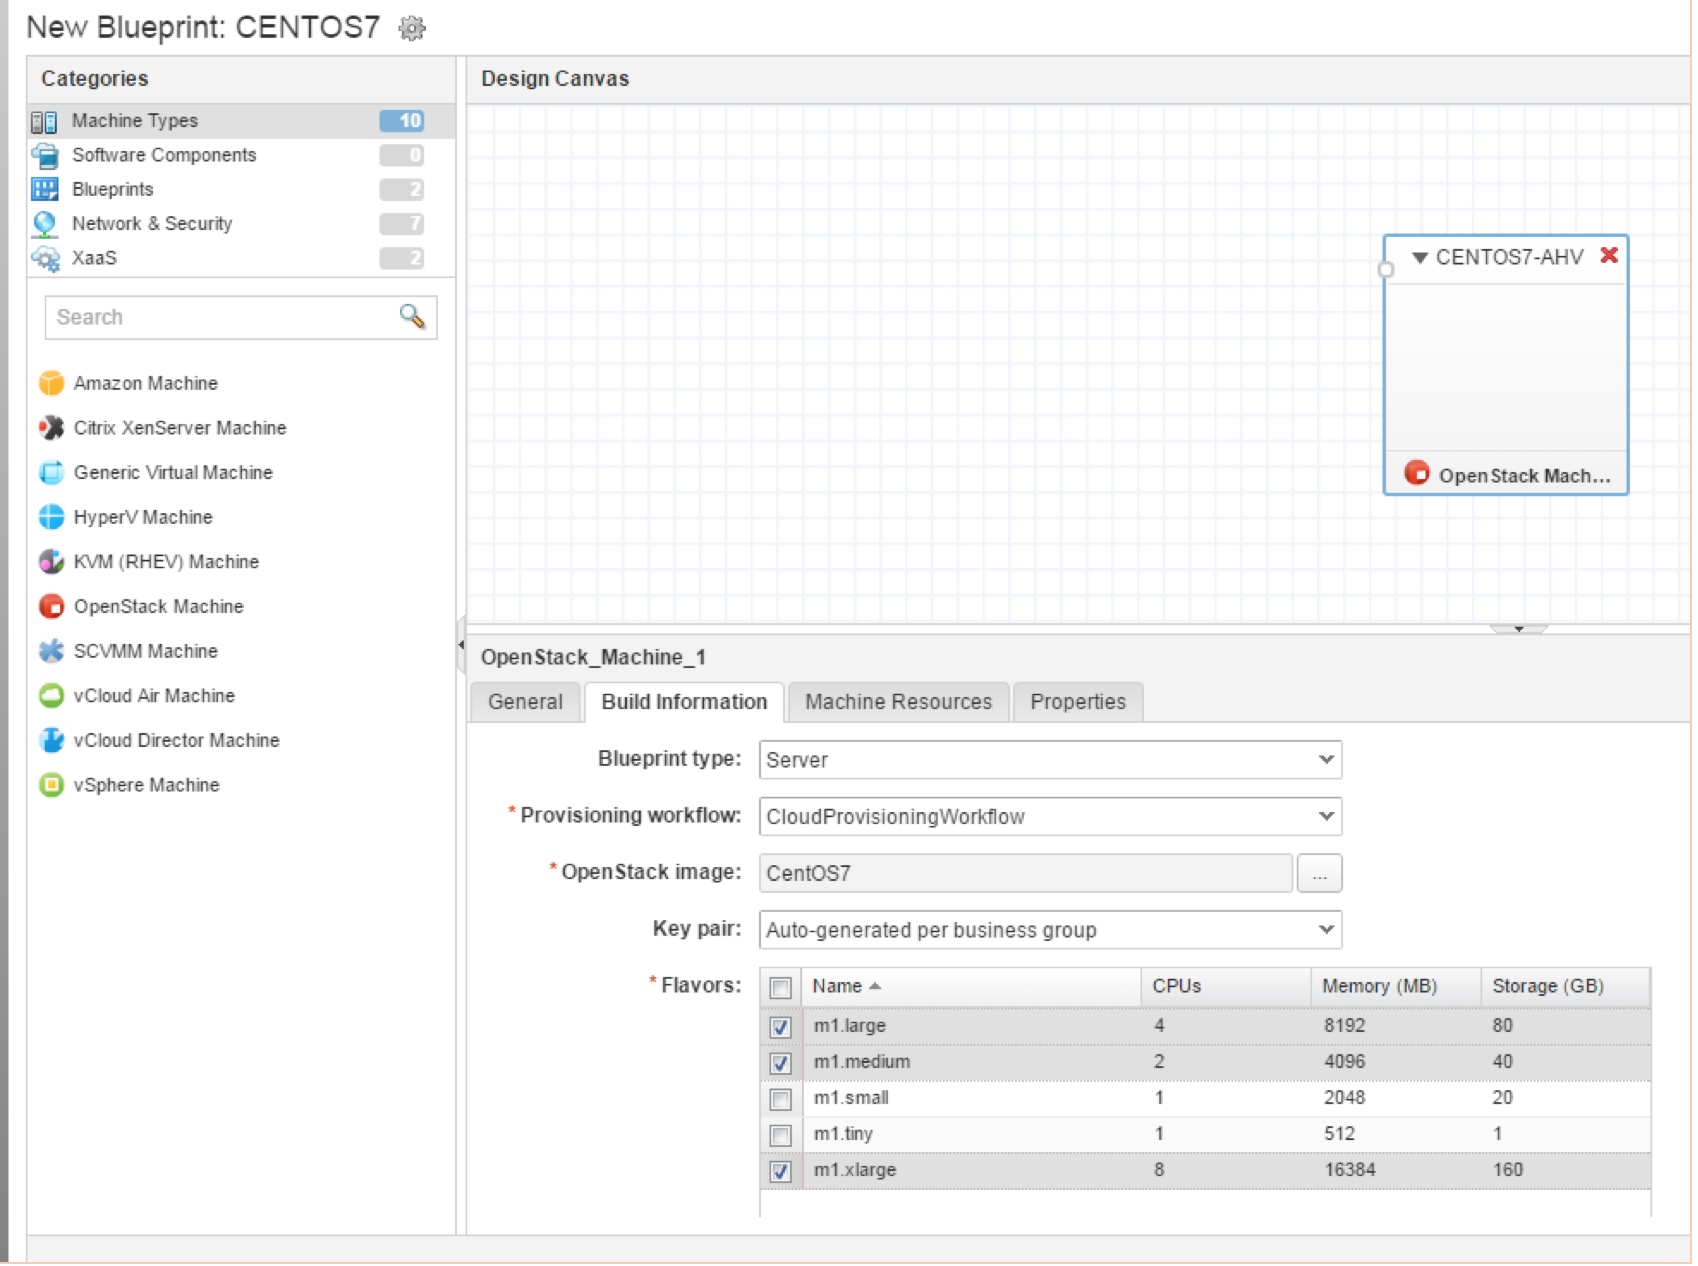
- Via the Design Canvas, drag “OpenStack Machine” onto the canvas and input CENTOS7 as the ID. All other options on the tab can be at their default values(s)
- Via the Build Information tab, add the following information:
- Add the Property Group including the Network Property Definition created earlier. You can also use the Properties tab and add e.g. the machine state workflows so information can be sent to vRealize Orchestrator (vRO). To start post provisioning workflows you can to use Extensibility.Lifecycle.Properties.CloudProvisioning.Workflow.BuildComplete via the CloudProvisioningWorkflow.
- Assign the newly created Blueprint to a vRA service, in this case OpenStack-Nutanix

- Request the CENTOS7 catalog item and select your options/fill out information for:
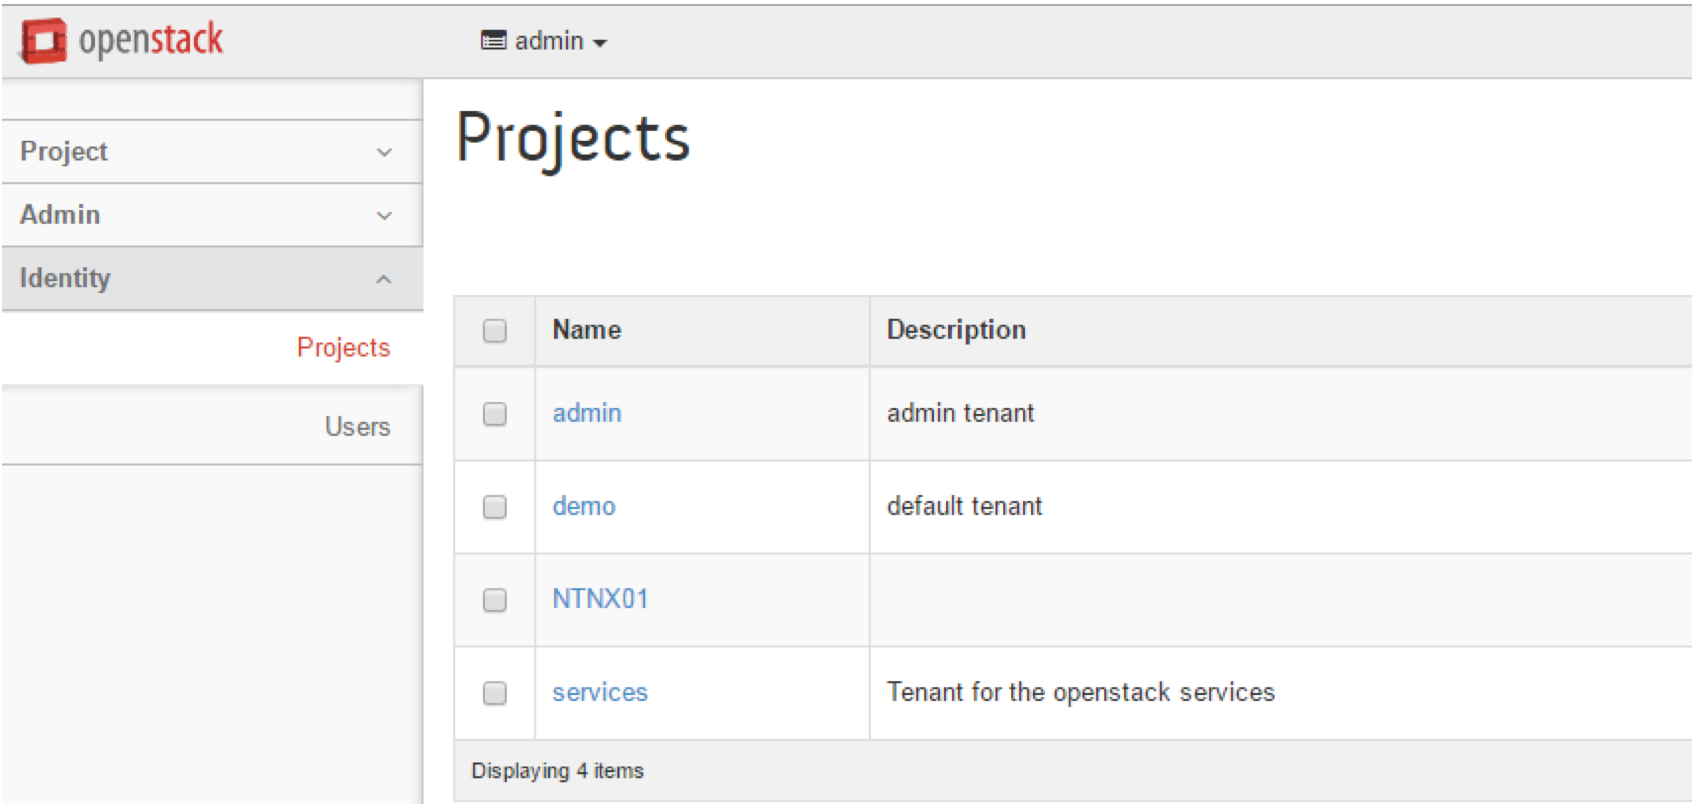
When provisioning is completed you’ll see the VM in the below two interfaces:
The newly created AHV based VM is now a managed object in vRA



6 pings