
Updated 2017-11-15:Information about how to check NGT status in Linux based VMs
—————————————————————————————
In the Nutanix Guest Tools blog post i explained what Nutanix Guest Tools (NGT) is and what features it provides. This blog post will focusing on the installation of NGT in a Windows operating system based VM and how you verify a successful installation. I’ll provide an overview initially and a detailed section at the end that is really print screen heavy….
Overview
- In PRISM -> VM -> Table -> Highlight the VM and click Enable NGT
- Log in to the Windows VM and run the Setup.exe file located in the VM CD-ROM drive
- Fo Linux based VMs there are two options:
- The CD-ROM will be auto mounted if you are using a GUI
- The CD-ROM needs to manually be mounted if you are not using a GUI. Mounting a CD-ROM can be done differently based on Linux distributions but one of the following commands should work:
- mount /dev/cdrom /mnt/media
- mount /dev/cdrom /mnt/cdrom
- mount /dev/sr0 /mnt
- Fo Linux based VMs there are two options:
- Installation
- Windows VM installation: Walk through the installation by clicking Accept, Next, Install and Finished a few times.
- Linus VM installation: sudo /mount-point/installer/install_ngt.py e.g.:
- /mnt/installer/install_ngt.py
- Verify the services running in the VM
- Windows VM: Start the services,msc and scroll down to Nutanix….
- Linux VM run one of the following commands:
- service –status-all (two minus before status and one minus between status and all)
- /etc/init.d/ngt_guest_agent status (start, stop,restart and status are the available options)
- Verify the VSS driver is installed in the VM
- run the “vssadmin list providers” command from a cmd prompt
- Verify the VM has successfully established communication with the Nutanix Cluster.
- Run the “ncli ngt list” command from any CVM in the Nutanix cluster.
In addition to install NGT in a single VM you might create new VMs based on an existing AHV based VM or vSphere based template or VM. NGT will not be enabled by default meaning an automated, scripted or manual process is needed. The following process applies when there is a need to enable NGT on multiple VMs created/cloned from another VM and or template.
- Install NGT in the template VM.
- Create new VMs from the tempM
- Run the below command for each new VM from and CVM in the Nutanix cluster:
- ncli ngt mount vm-id=<cloned_vm_id>
- VM ID can be found by running the following command from any CVM:
- acli vm.list
- VM ID can be found by running the following command from any CVM:
- ncli ngt mount vm-id=<cloned_vm_id>
- Power on the cloned VM and the Nutanix Guest Agent will complete:
- Detects that a new NGT CD-ROM ISO is attached
- Copy the files needed
- Initiate communication with the Nutanix cluster
- Auto-ejects CD-ROM
- Within 30 seconds the CD-ROM should be auto ejected.
- Within 10 minutes the CD-ROM will be disconnected from the hypervisor layer.
Detailed section
- In PRISM -> VM -> Table -> Highlight the VM and click Enable NGT

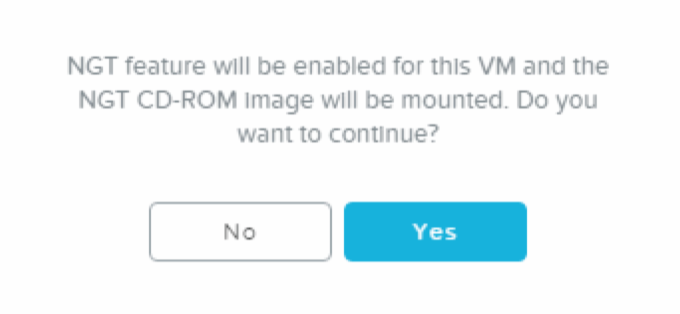
- Click Yes to the popup asking if you want to mount the ISO image
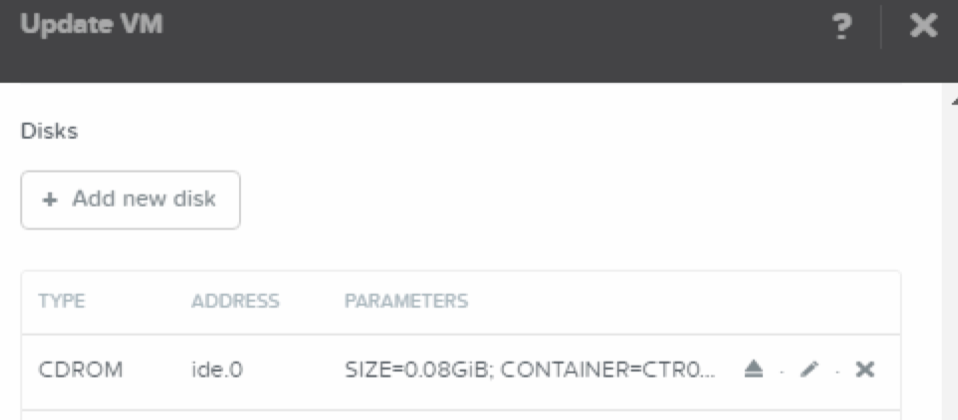
- Verify the VM has the NGT ISO mounted via PRISM by highlight the VM and click Update
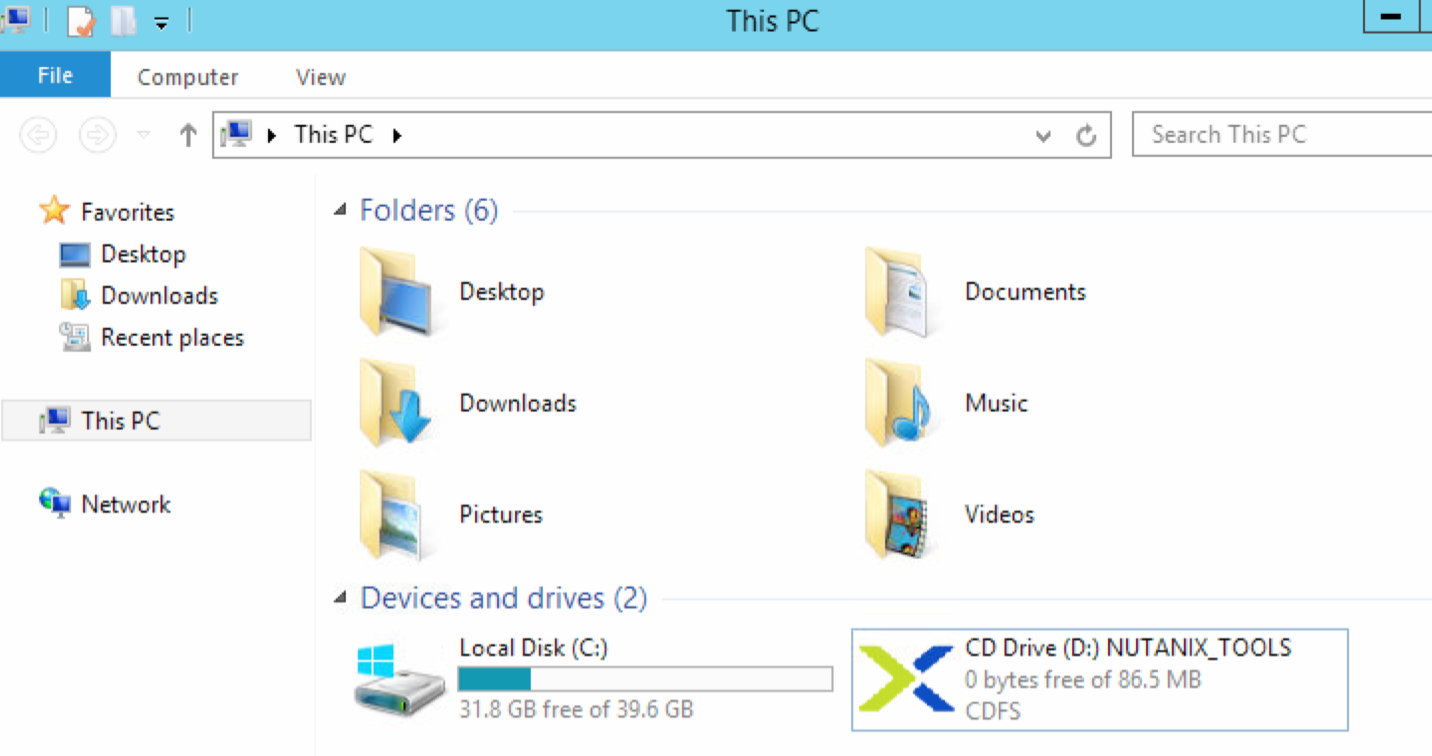
- Log on to the VM and open explorer, double click Nutanix_Tools icon (CD-ROM) and double click Setup.exe
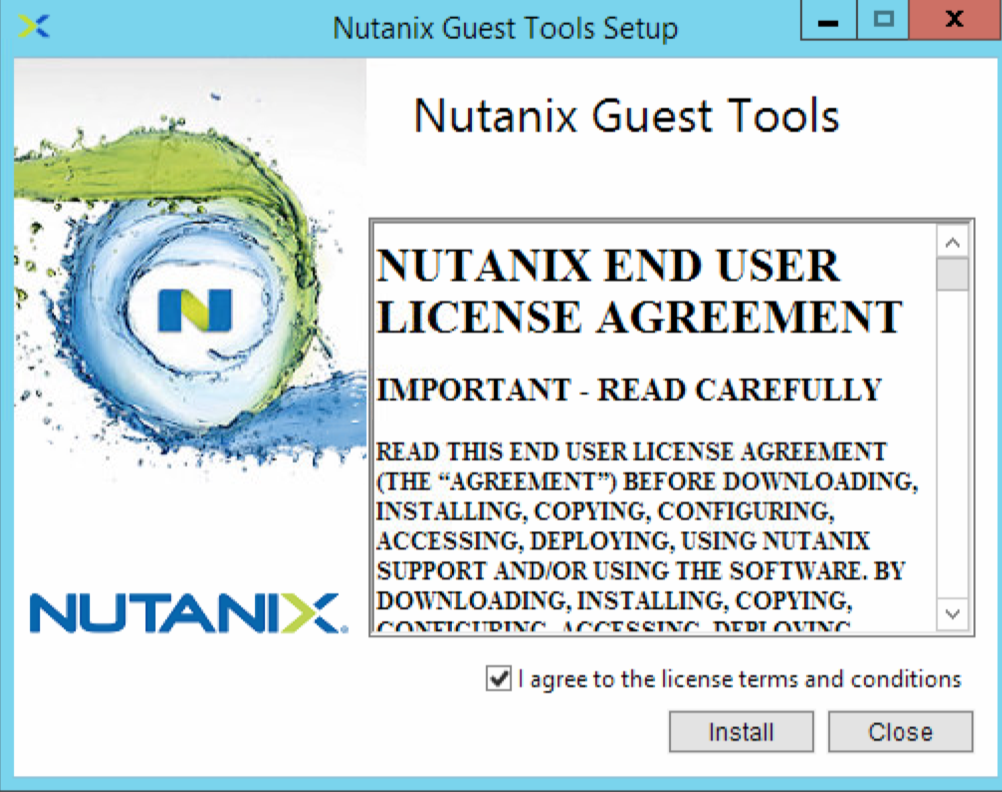
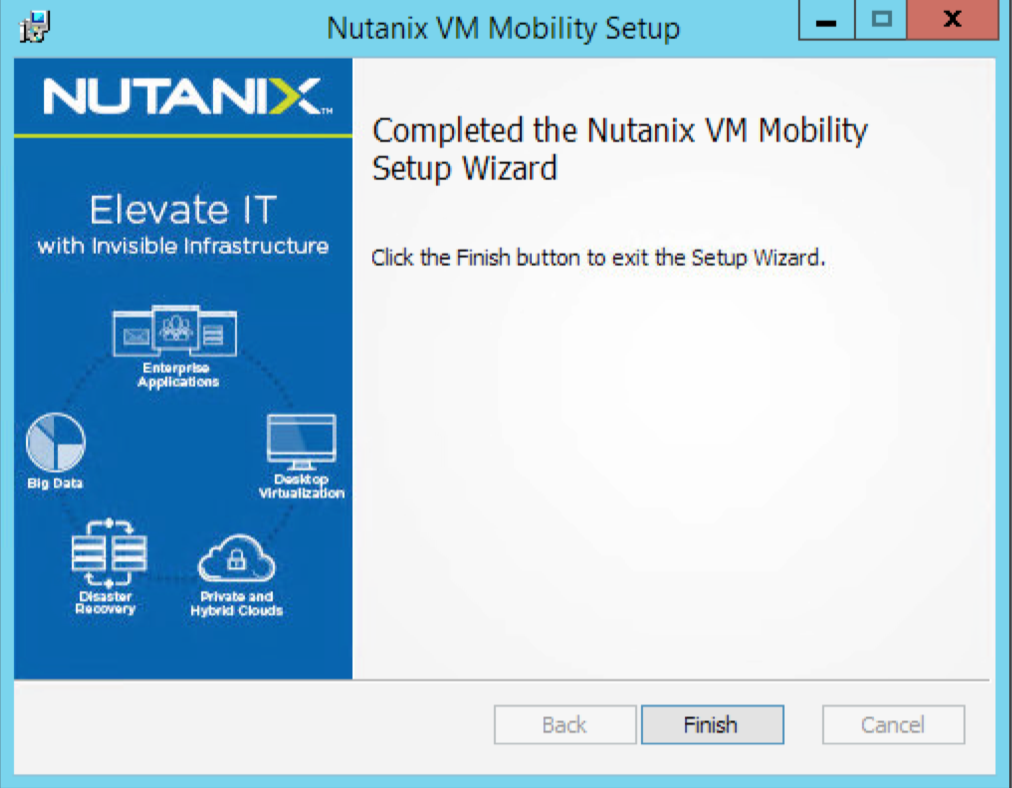
- Accept the license agreement and click install. Depending on what services you need installed you have a few choices e.g. Python components, VM App Mobility. Answer Install, next and Finished to the questions.


- Verify the Windows services running in the VM via Services.msc

- Verify the VSS driver is installed in the VM by running the cmd command “vssadmin list providers”

- Verify the VM has successfully established communication with the Nutanix Cluster vu running the “ncli ngt list” command from any CVM in the Nutanix cluster.

- As you can see from the above print screen the VSS Snapshot functionality is enabled by default and File Level Restore is not enabled by default
- To manage (disable and enable) available features you use the “ncli ngt” command e.g.:
- Enable File Level Restore
- ngt enable-applications application-names=”File Level Restore” vm-id=00052a30-4083-ddec-0000-000000003c2b::45db9a4c-d663-4365-882e-92329ea3b93f
- Disable VSS Snapshot
- ngt disable-applications application-names=”Vss Snapshot” vm-id=00052a30-4083-ddec-0000-000000003c2b::45db9a4c-d663-4365-882e-92329ea3b93f
- Enable File Level Restore

2 pings