This is the second blog post in my blog series about using Citrix ADC as a web server load balancer. To be able to use the web server load balancer it’s also good to have some web servers…. All blog posts in this series:
- Deploy Citrix ADC VPX On Nutanix AHV
- Install Apache On CentOS
- Initial Citrix ADC VPX Configuration
- Citrix ADC VPX Web Server Load Balancer Configuration
This blog post will describe how to install Apache on CentOS. After initial installation of CentOS you can follow the below steps to:
Install Apache
The first thing we need to do is to install the Apache web server unless it is already installed via the base installation. In my case it was not so here you go.
Configure CentOS
There are a few things we need to do to make sure we can access the newly installed Apache web server.
- Configure the firewall to allow the protocol(s) you’ll use meaning http and or https for traditional web servers. Yes the below commands are very basic and depending on if you are working with different rules for different firewall zones you might need to be more specific in the configuration but the below commands works for all firewall zones.
- firewall-cmd –permanent –add-service=https
- firewall-cmd –permanent –add-service=http
- Start Apache by running one of the below commands following command:
- service httpd start
- apachectl start
- Verify the Apache service is up and running by running the below command:
- Make sure the Apache web server is restarted when the VM reboots by running the below command:
- systemctl enable httpd
Create Web Page
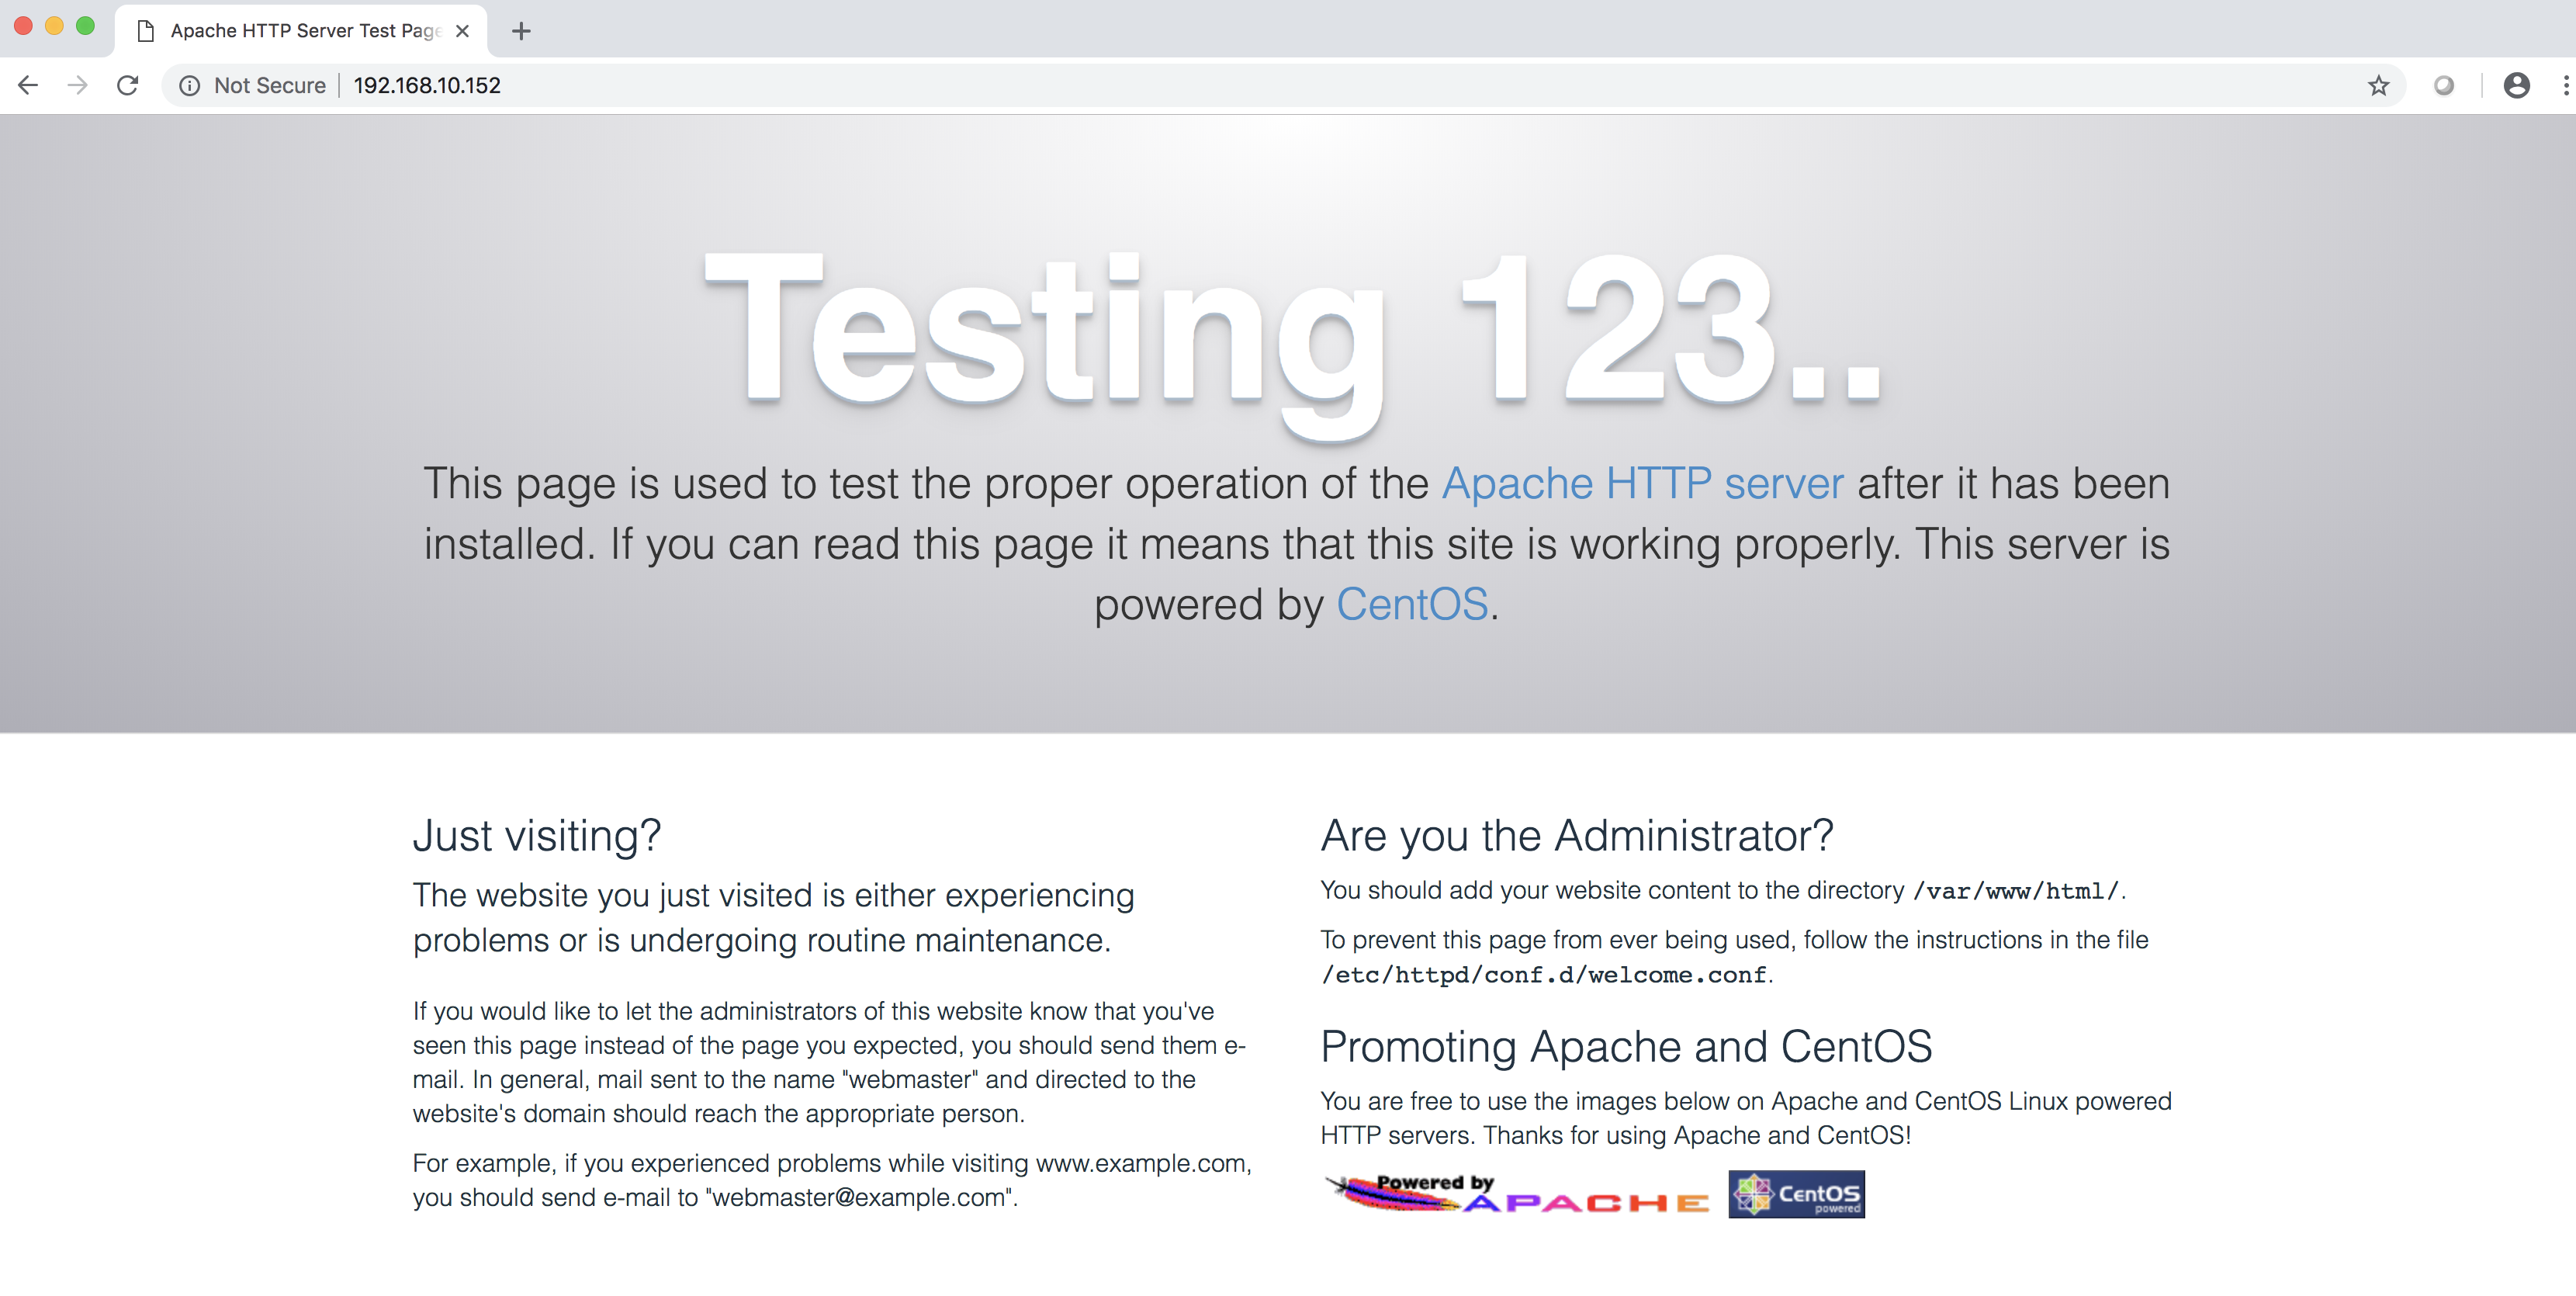
Now you can access the web server and verify it is up and running. Just type the FQDN or IP address to the box where you installed and configured Apache and in my case it was 192.168.10.152
Instead of using the default web page with Citrix ADC you might want a web page that will identify the actual web server you are being directed to. That is what I need for my testing so I’ll create a default web page with:
- VM name – in my case demo-web2
- VM IP address – in my case 192.168.10.152
Use the Linux editor of your choice, mine is vi, and create a default web page with e.g. the below information.
- vi /var/www/html/index.html
<html>
<body>
<h1>NPX5 Web Server Farm</h1>
This is a static web page displayed by web server:
<br>
<b>web-demo2</b>
<br>
<br>
The web server has IP address:
<br>
<b>192.168.10.152</b>
<br>
<br>
It is included in the Citrix ADC load balancer
</body>
</html>


2 pings