
It is an Intel NUC model NUC6i7KY with:
- Intel i7-6770HQ CPU with 4 Cores a 2.60GHz
- 32 GB Memory
- 2 x Crucial MX300 525GB SSDs
If you want to use DHCP for your CE installation you should use static DHCP assignments but the recommended way is to have static IP address assignment which I’ll use later in the blog post. Same as with Nutanix AOS, CE uses the IP addresses from the 192.168.5.0/24 network for internal communication so use another network for the external IP addresses.
Follow the below steps to make the necessary preparations and install Nutanix CE on your Intel NUC.
- Download CE here To be able to do so you need a Nutanix Next Community Account which you create here if you don’t have one.
- Plug in the USB key you’ll run the installation and AHV from and find out the device address by running one of the following commands:
- diskutil list
- diskutil list| grep -A 4 external

- Eject the USB drive by running the following command (but leave the USB key plugged into your MacBook)
- diskutil unmountDisk /dev/disk2

/dev/disk2 found from previous command
- diskutil unmountDisk /dev/disk2
- Copy the image, downloaded in step 1, to your USB key by running the following command:
- dd if=name_of_your_image_downloaded_in_step_1.img of=/dev/rdisk2 bs=1m
- If you’re using Windows you can use e.g. Rufus to create your USB disk, select DD Image

- If you’re using Windows you can use e.g. Rufus to create your USB disk, select DD Image
- dd if=name_of_your_image_downloaded_in_step_1.img of=/dev/rdisk2 bs=1m
- Unplug the USB key from your MacBook and plug it into your NUC and power it on.
- Make sure to boot on the USB key, press F10 during Intel NUC boot and select the appropriate USB disk.
- Press Enter when the below screen appears unless you want to change anything in the boot command

- The installation media initial screen appears, just type “install” to start the installation. There is an option to login to the installation source and make changes if necessary.

- Select keyboard layout and Proceed

- Sit back and a few seconds.

- Now you need to fill out a few things. This is also where you decide if you want the installation to setup the Nutanix CE cluster and not just install the software. Its a simple checkbox to make it happen. Fill out the following information:
- Host (AHV) IP Address
- Host (AHV) Subnet Mask
- Host (AHV) Gateway
- CVM IP Address
- CVM Subnet Mask – Use same as the Host (AHV) one.
- CVM Gateway – Use same as the Host (AHV) one.
- Create single-node cluster ? – Enable this unless you want to do it via command line using the “cluster” command
- DNS Server – Fill out DNS server
- Check the check-box next to “I accept the end user license agreement” You’ll actually have to scroll through it.

- Wait some time before the installation is completed.

Simple as that, just point your browser to the CVM IP address a few min after the installation is completed and activate the CE installation and now you need your .Next Community username and password handy.


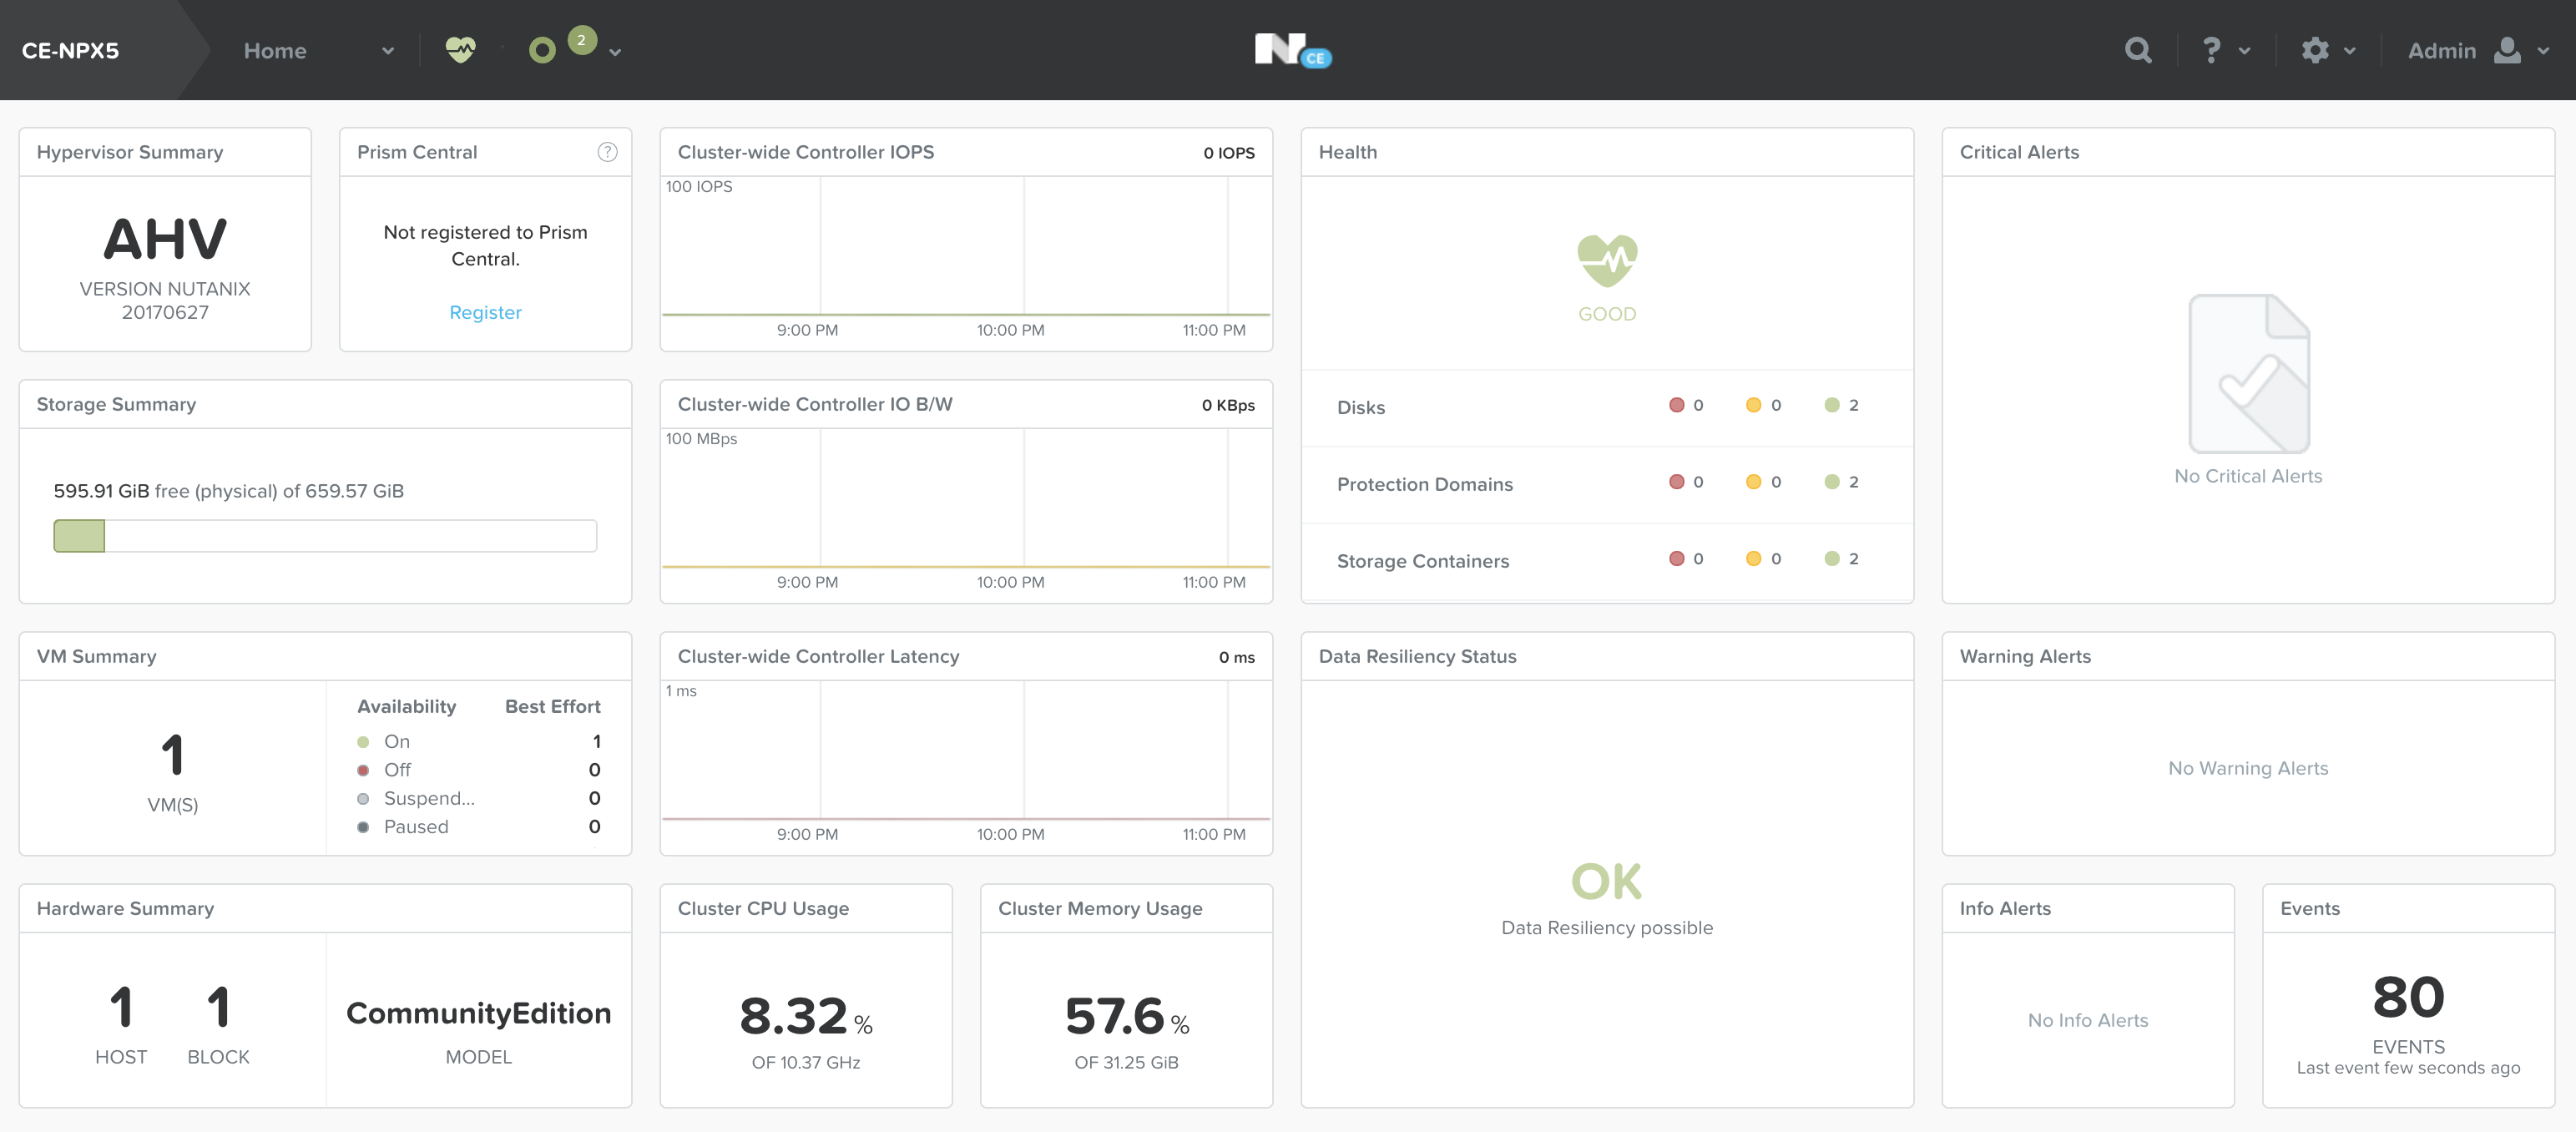
When completed you got your own Nutanix CE running.
Now you’re ready to start using Nutanix CE but additional configuration is required based on use case:
- Authentication
- NTP
- Network
The following blog posts might be useful for your Nutanix CE environment:
- Create & Configure Nutanix Cluster via command line
- Nutanix AHV VM Reporting Via REST API Version 2.0
4 pings