
Quarantine Configuration
Let’s start with a simple configuration example before we move on and Test & Verify the Quarantine functionality.
When enabling Nutanix Flow Microsegmentation you get a default Security Policy called Quarantine which you can access via Prism Central -> Explore -> Security Policies
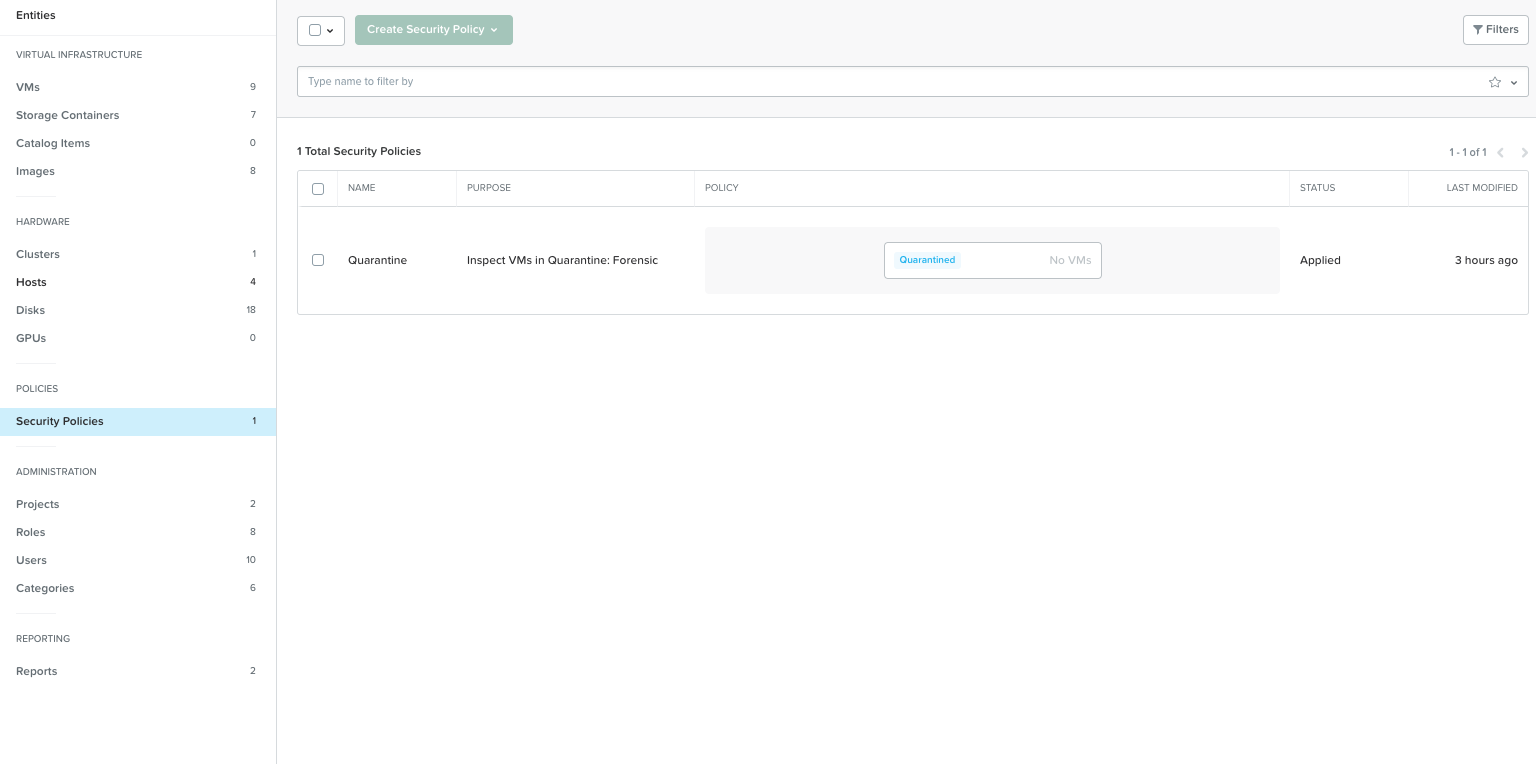
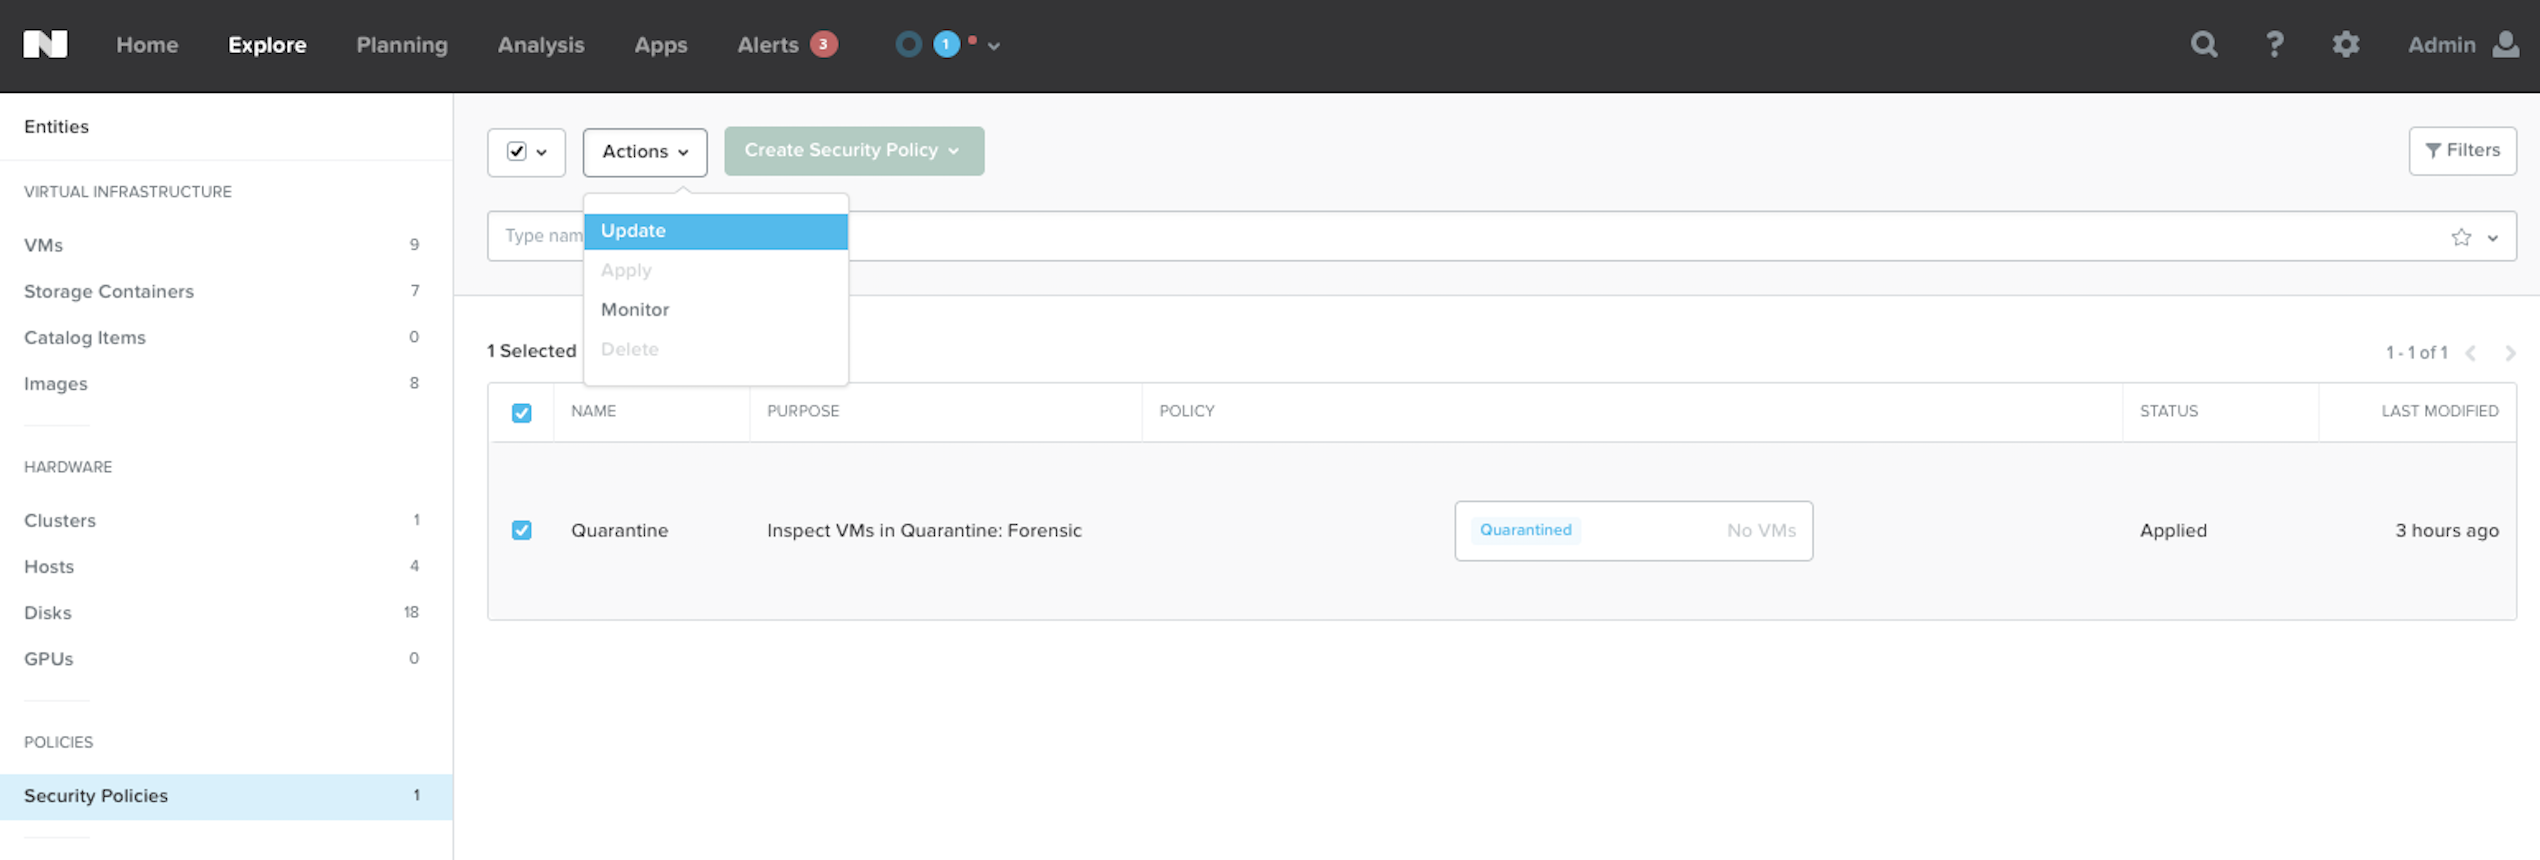
To Update the Security Policy, click the check-box next to the name and select Update.
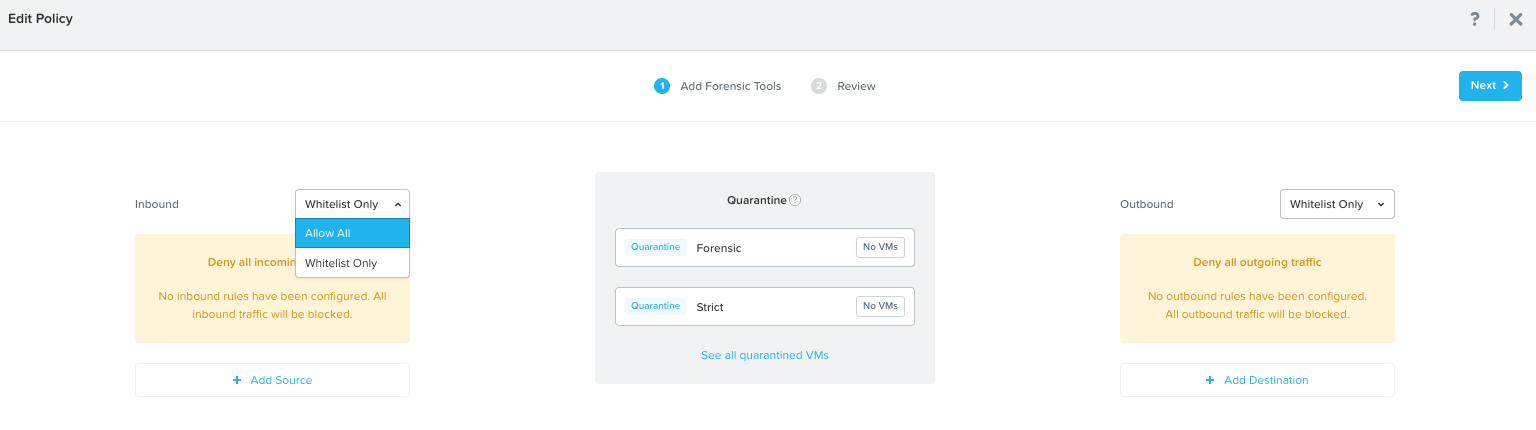
Both the Inbound and Outbound sections provides you with an option to either Allow All traffic or allow traffic per Whitelist Only .which is the default option. The Whitelist option includes systems based on a Category and or Subnet.
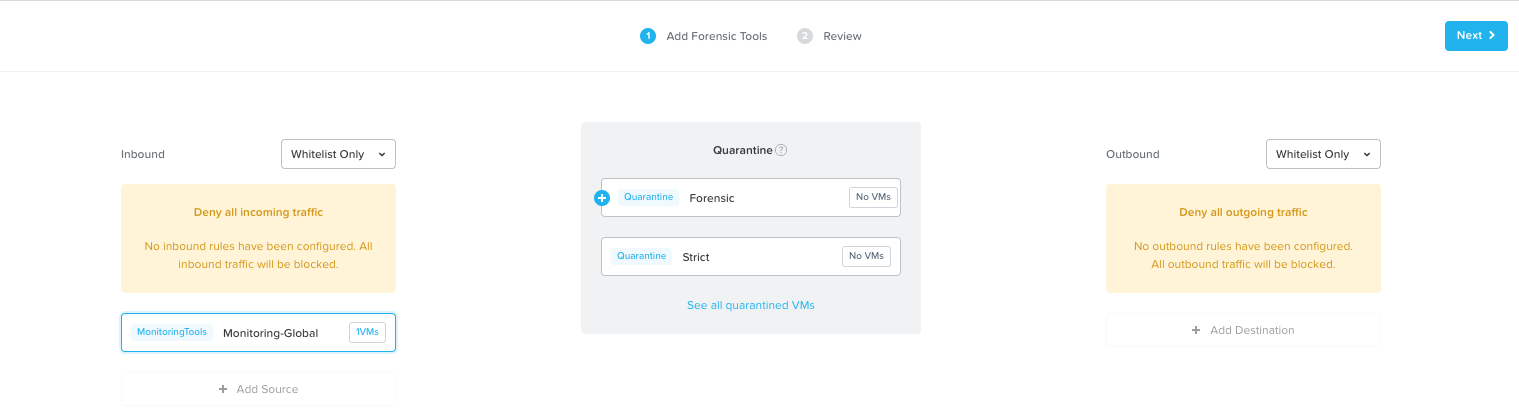
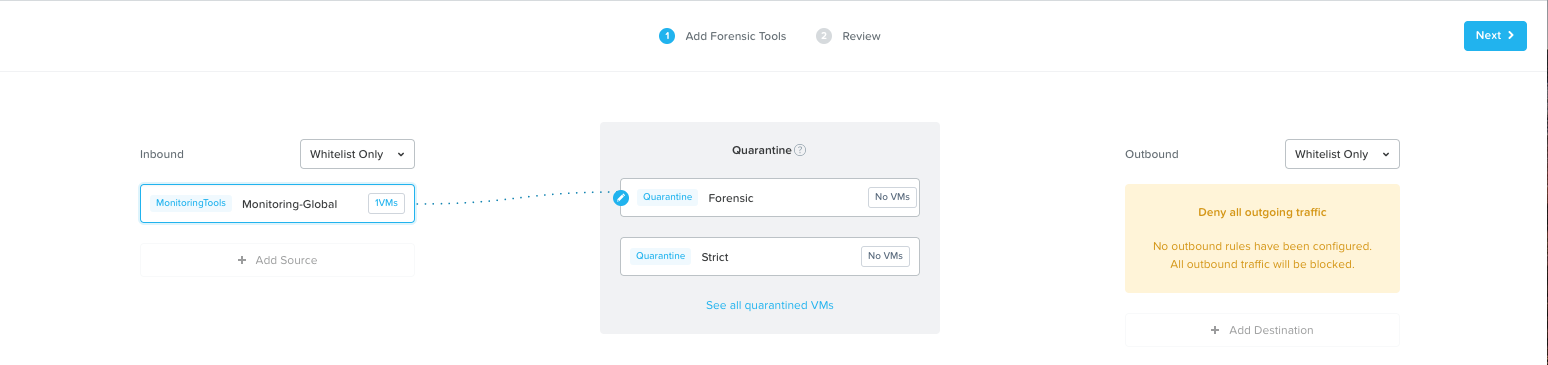
In case you still want e.g. monitoring tools or other systems being able to access a VM put in quarantine you simply click the “Add Source” and add systems based on Category or Subnet. In this example I added Category Monitoring-Global.
You can do the same if you want to enable a VM put in quarantine to be able to initiate communication with other systems. In my case I did not add any destination.
This communication will be available when you put a VM in Quarantine mode using the Forensic method. If you select Quarantine with Strict method the systems specified at the Forensic level will not be able to communicate with the quarantined VM(s).
Click the plus sign and modify the rules e.g. specify protocol and ports. In my case I’ll allow everything for the Monitoring-Global categorised VM(s) so just clicking Save.
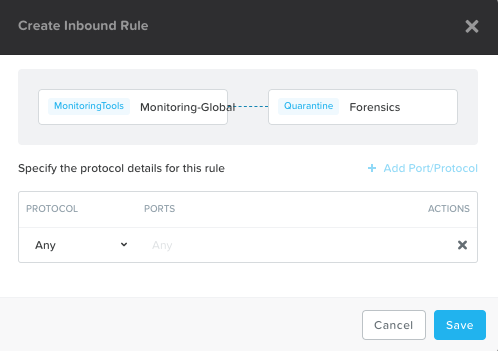
You get a nice overview of the allowed communication.
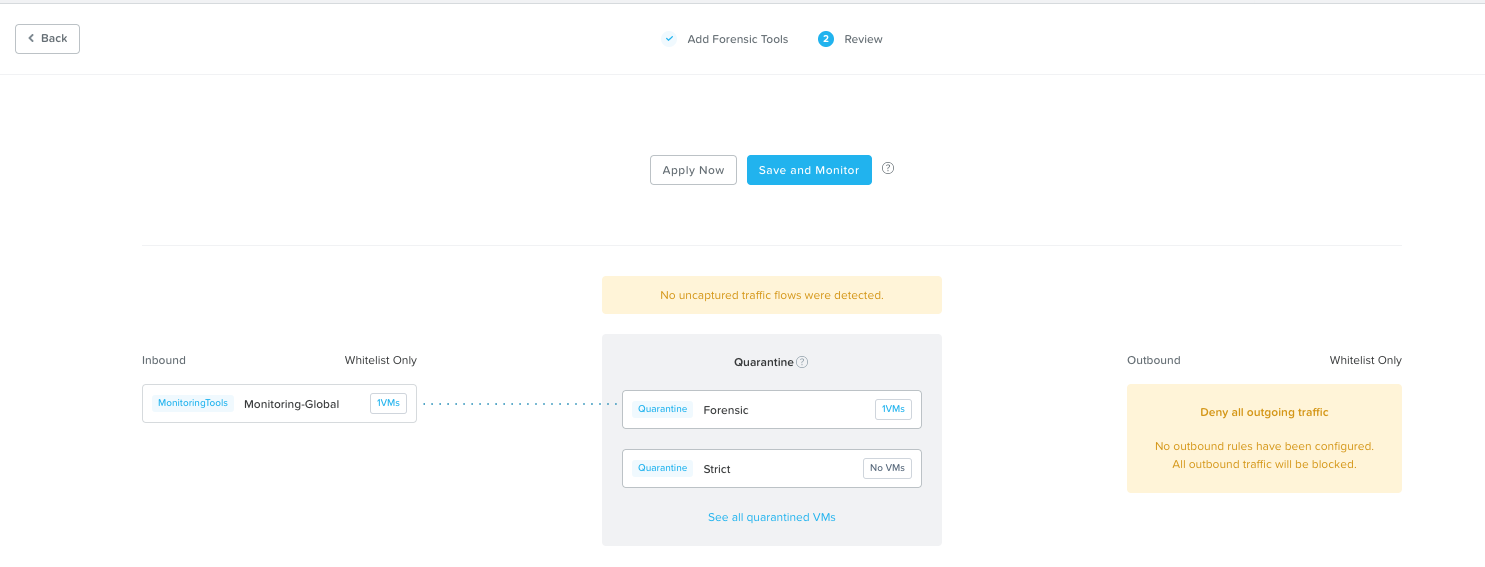
When done, click Next and move on to the Review section where you got two options:
- Apply Now
- Save and Monitor – Learning mode meaning whenever you put a VM in quarantine and using the Forensic method you need to switch from Monitor to Apply mode to make the configuration take effect.
Verify quarantine functionality
Now let’s see what will happen if we put the VM called Security-01 in quarantine mode with the different methods Strict & Forensic. Before quarantine is enabled the two systems below can communicate with the security-01 (192.168.10.221) VM
- Monitoring VM

- Other VM

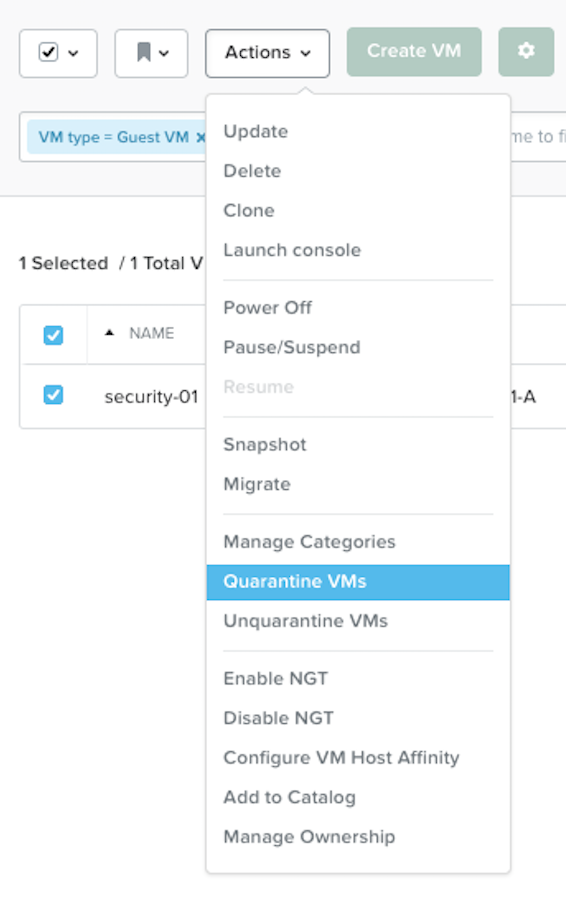
Now enable Quarantine with Strict mode for the VM security-01

When done the VM will have a symbol to the right of the name which indicates it is in Quarantine.

Now none of the VMs can communicate with the security-01 VM
- Monitoring VM

- Other VM

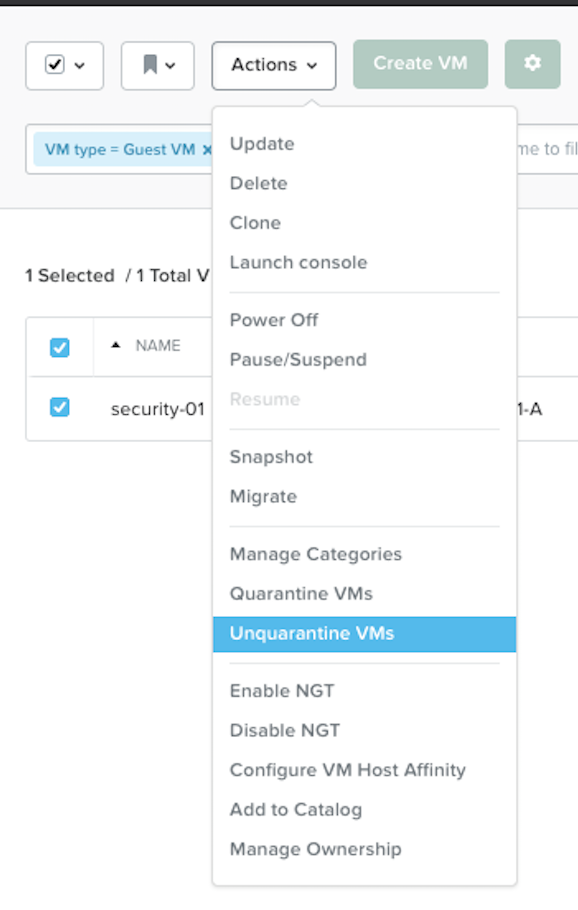
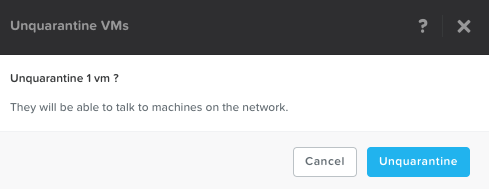
Remove VM from Quarantine via PC UI.
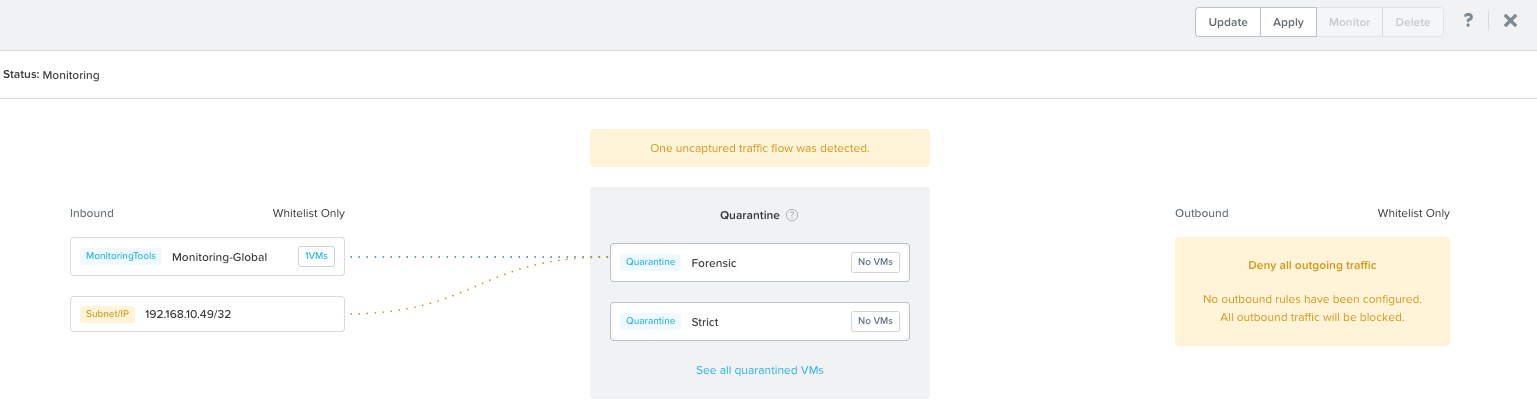
Before we can, or will see expected result, using the Quarantine Forensic method we need to change the Quarantine Security Policy from Monitor to Apply.
Go back to the Quarantine security policy via PC UI Explore -> Security Policies and click Apply in the top right corner.
Before you do take a look at the the information provided by the Monitor mode which will show you what’s gonna happen when Forensic mode is activated. In my case the VM (only one in my case) categorized as Monitoring-Global VMs will be able to communicate with the quarantined VM(s).
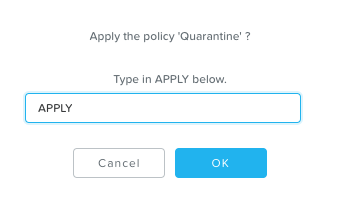
Type Apply and hit OK.
Now put the Security-01 VM in Quarantine Forensic mode.
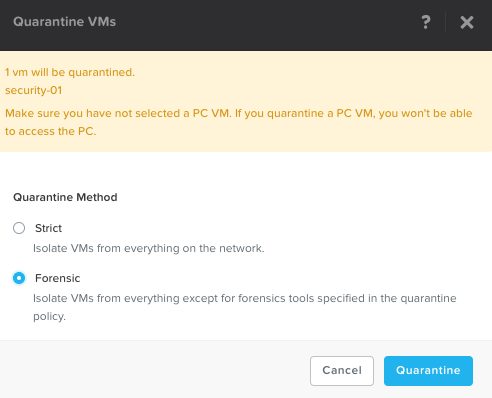
And as expected the communication testing results came back according to:
- Monitoring VM

- Other VM

The below figure shows what happened with outbound communication from the Security-01 VM and short description is that all traffic, figure including ping statistics, was dropped since I didn’t allowed any outbound traffic from VMs in quarantine mode.
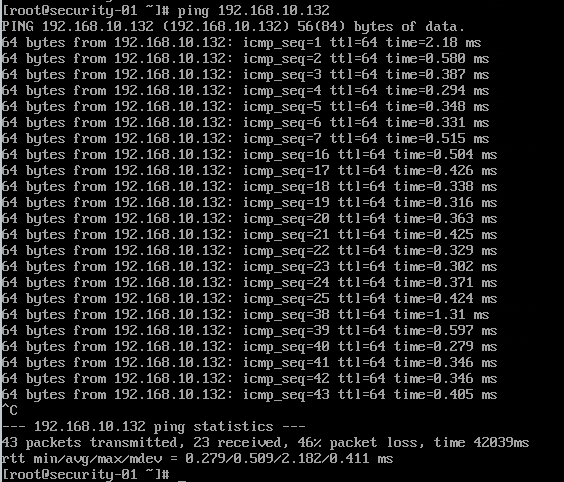
- Running Normal
- Ping 1-7 (Communication Ok)
- Quarantine Mode – Strict
- Ping 8-15 (No answer/dropped)
- Running Normal
- Ping 16-25 (Communication Ok)
- Quarantine Mode – Forensic
- Ping 26-37 (No answer/dropped)
- Running Normal
- Ping 38-43 (Communication Ok)
The Nutanix Flow Quarantine was tested using AOS 5.6 and AHV 20170830.115