
- Acropolis OpenStack Services VM (OVM) – This is the VM we will create later in the blog post and it includes both the below components in my case. You can use another OpenStack controller if you prefer but in this demo purpose case i don’t have any requirements that can justify that.
- OpenStack Controller (OSC) – The OpenStack controller manage the OpenStack API calls and provides e.g. the API and UI capabilities.
- Acropolis OpenStack Driver – The OpenStack Controller sends instructions to the Acropolis OpenStack drivers which translates them to Acropolis API calls.
Prerequisites
First a few things you need before we can complete the deployment since it involves connecting the OVM to an existing Nutanix Acropolis Hypervisor (AHV) cluster.
- Install an AHV based Nutanix cluster.
- Download the OVM from the Nutanix Portal via the Downloads -> Tools & Firmware dropdown.
- Search for Nutanix OpenStack Image and download the qcow2 file
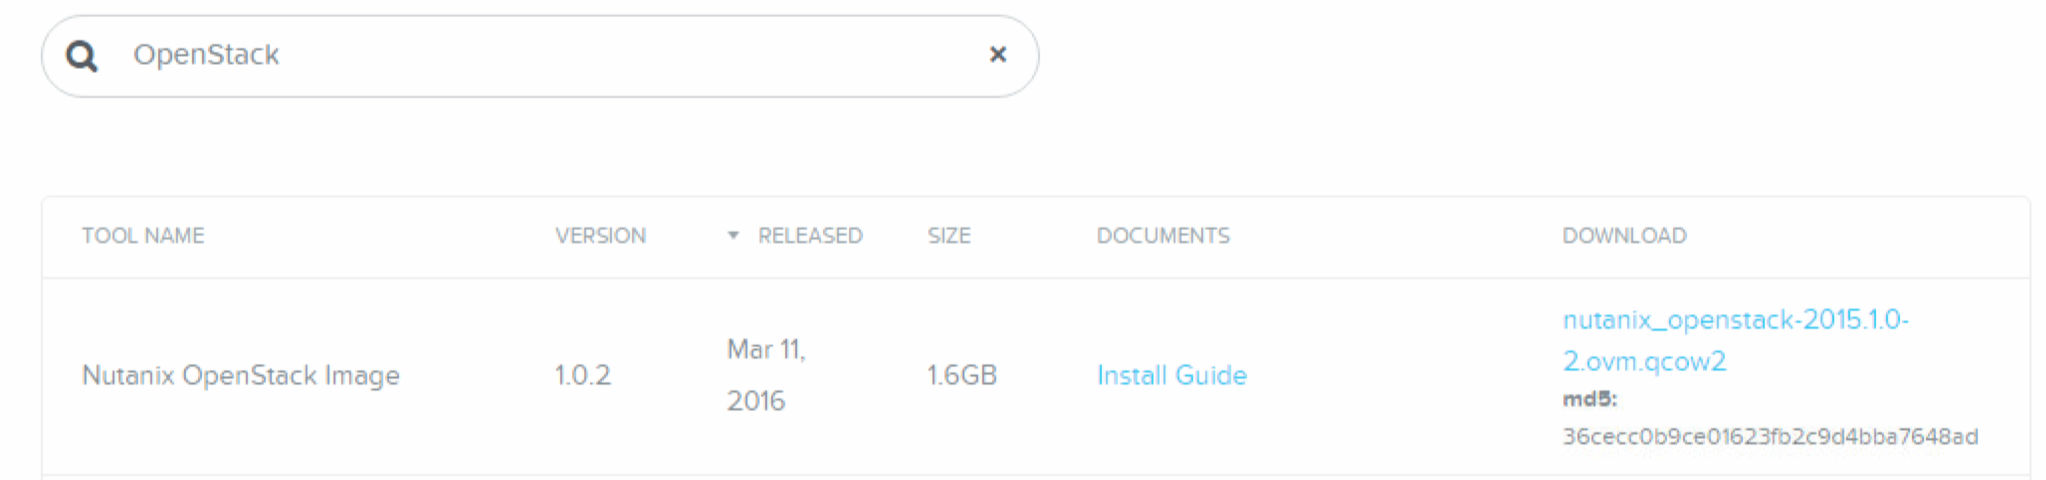
- Search for Nutanix OpenStack Image and download the qcow2 file
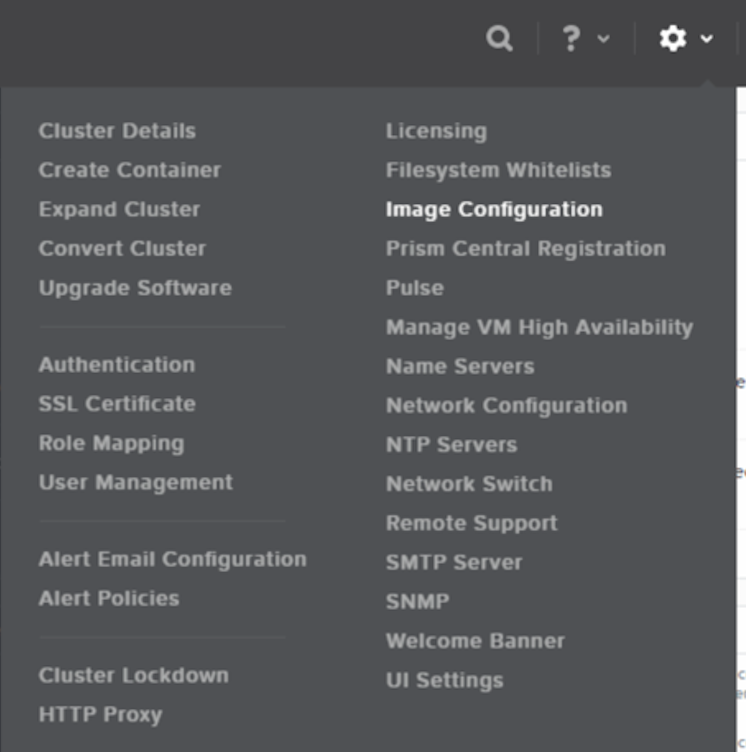
- Upload the Image to the existing Nutanix cluster Image Configuration formerly known as Image Service using the following procedure:
- Start Image Configuration via the upper right Gear Icon -> Image Configuration
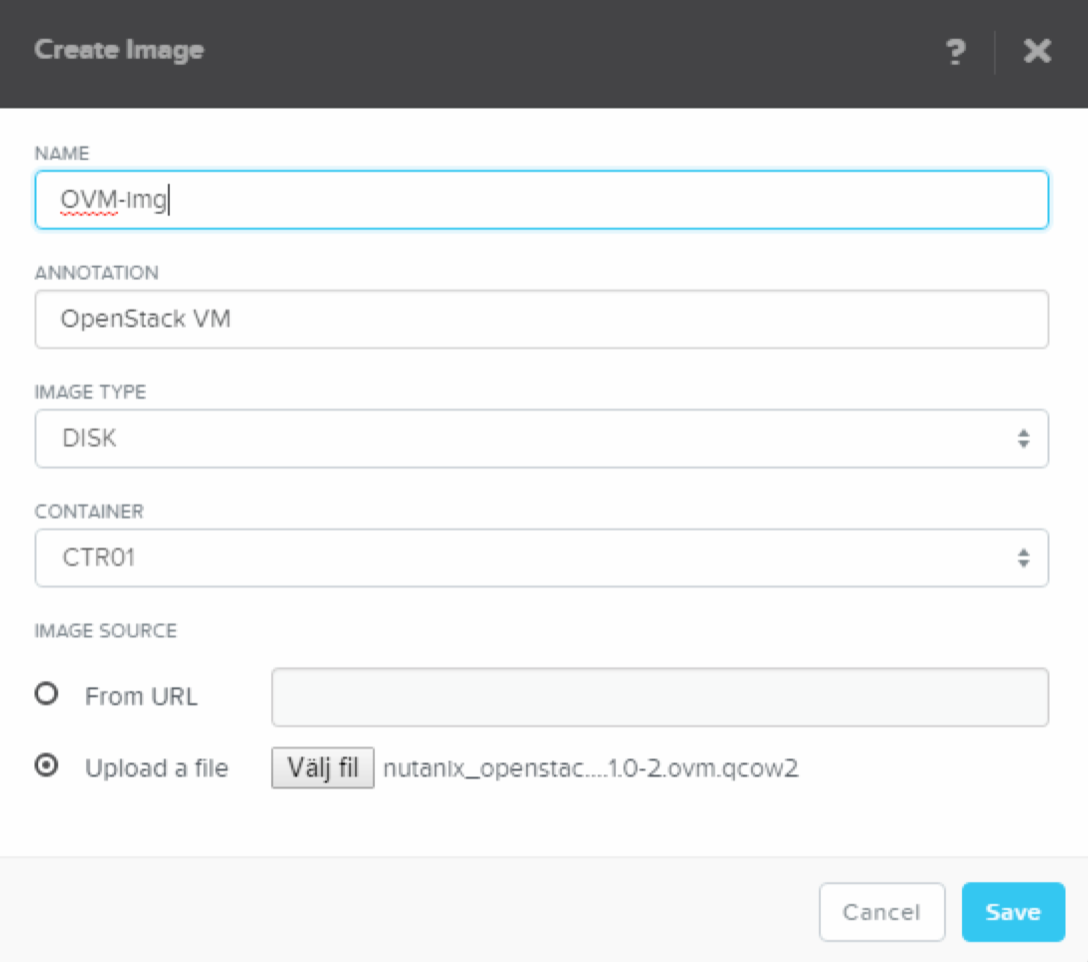
- Click the Upload Image button

- Give the Image a Name, Provide an Annotation, Select Disk as Image Type, Select Container and finally select the downloaded file before pressing the Save icon.
- Start Image Configuration via the upper right Gear Icon -> Image Configuration
When done it’s time to start deploying the OVM.
Deployment
As with any other Nutanix solution the OpenStack one is also very easy to deploy. Follow the below steps and you are up and running a few minutes after the download has completed.
- Create the OVM using the qcow2 file via the VM -> Table view and pressing the light green Create VM icon upper right corner
- Give the VM a Name, configure 4 vCPUs, configure 16 GB RAM

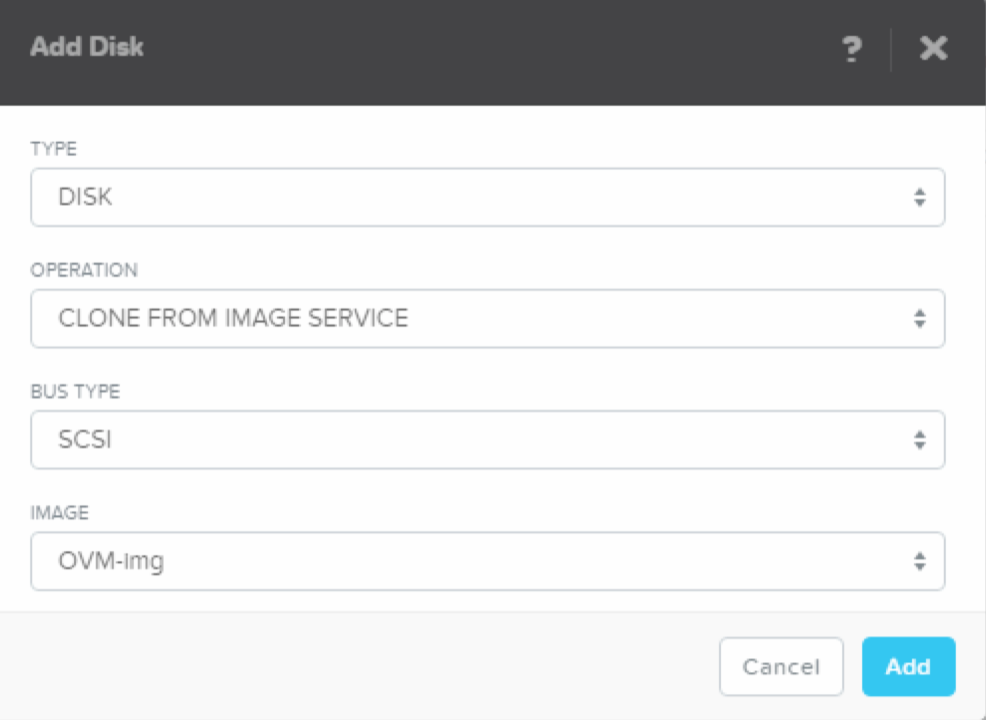
- Create a disk using the Clone From Image Service options, select the recently uploaded OVM-Img file and click Add.
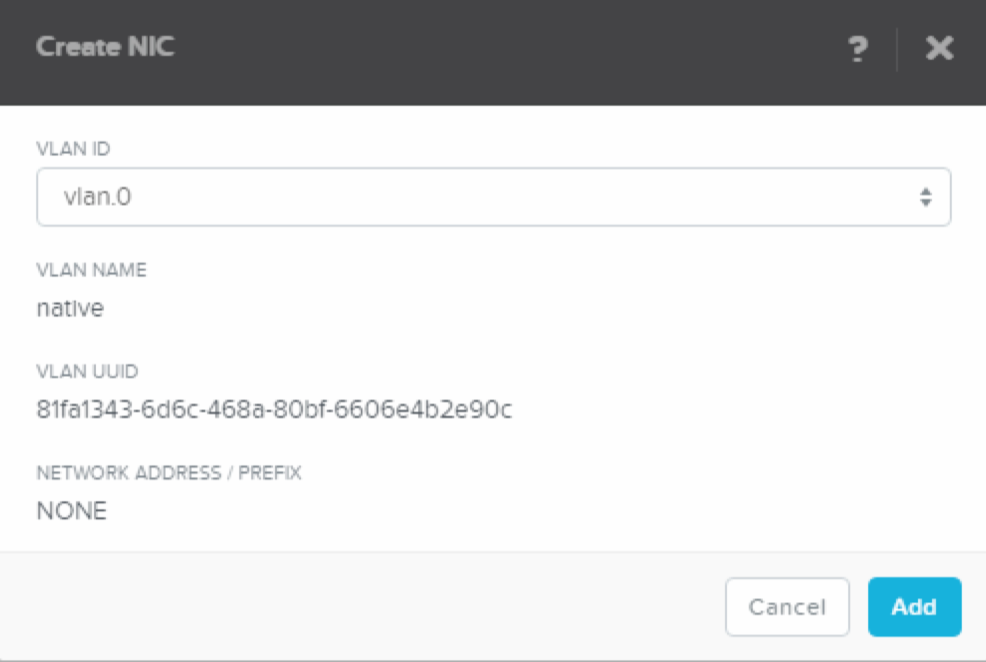
- Create a NIC meaning select a VLAN ID in the drop down box and click add.
- When VM is created, power it on and launch the console
- Give the VM a Name, configure 4 vCPUs, configure 16 GB RAM
- Configure the OVM. There are only three commands that you need to run to setup the OVM but please refer to the Implementation guide for additional information and potential configuration steps regarding compute resource calculation, Nutanix Container to be used among other things.
- Add Nutanix OVM
- ovmctl –add ovm –name ovm01 –ip 10.10.100.161 –netmask 255.255.255.0 –gateway 10.10.100.1 –nameserver 10.10.100.3 –domain vcdx56.local
Important: there are two minus signs before each argument meaning —

- IP is the IP of the OVM we just deployed and the rest is pretty self explaining
- ovmctl –add ovm –name ovm01 –ip 10.10.100.161 –netmask 255.255.255.0 –gateway 10.10.100.1 –nameserver 10.10.100.3 –domain vcdx56.local
- Add OpenStack Controller
- ovmctl –add controller –name ovm01 –ip 10.10.100.161
Important: there are two minus signs before each argument meaning —

- OVM is still the OVM we just deployed. This is where you can configure another Controller if needed.
- ovmctl –add controller –name ovm01 –ip 10.10.100.161
- Add the first Nutanix Cluster
- ovmctl –add cluster –name npx5 –ip 10.10.100.135 –username admin –password nutanix/4u –container_name CTR01
Important: there are two minus signs before each argument meaning —
- This is where we add the Nutanix AHV based cluster as an OpenStack hypervisor. Since i don’t have a Nutanix Container called default i need to specify the Nutanix Container name using –container_name
- ovmctl –add cluster –name npx5 –ip 10.10.100.135 –username admin –password nutanix/4u –container_name CTR01
- Add Nutanix OVM
- Verify the configuration using the ovmctl –show command and make sure there are no errors and that the configured Nutanix Cluster is displayed correctly

Role:
—–
Allinone – Openstack controller, Acropolis driversOVM configuration:
——————
1 OVM name : ovm01
IP : 10.10.100.161
Netmask : 255.255.255.0
Gateway : 10.10.100.1
Nameserver : 10.10.100.3
Domain : vcdx56.localOpenstack Controllers configuration:
————————————
1 Controller name : ovm01
IP : 10.10.100.161
Auth
Auth strategy : keystone
Auth region : RegionOne
Auth tenant : services
Auth Nova password : ********
Auth Glance password : ********
Auth Cinder password : ********
Auth Neutron password : ********
DB
DB Nova : mysql
DB Cinder : mysql
DB Glance : mysql
DB Neutron : mysql
DB Nova password : ********
DB Glance password : ********
DB Cinder password : ********
DB Neutron password : ********
RPC
RPC backend : rabbit
RPC username : guest
RPC password : ********
Image cache : disableNutanix Clusters configuration:
——————————-
1 Cluster name : npx5
IP : 10.10.100.135
Username : admin
Password : ********
Vnc : 41648
Vcpus per core : 4
Container name : CTR01
Services enabled : compute, volume, networkVersion:
——–
Version : 2015.1.0
Release : 1
Summary : Acropolis drivers for Openstack Kilo. - Now it’s time to access the UI.
- Browse to using https://10.10.100.161 and log in using admin/admin

- This is the Home screen when loggin in as admin
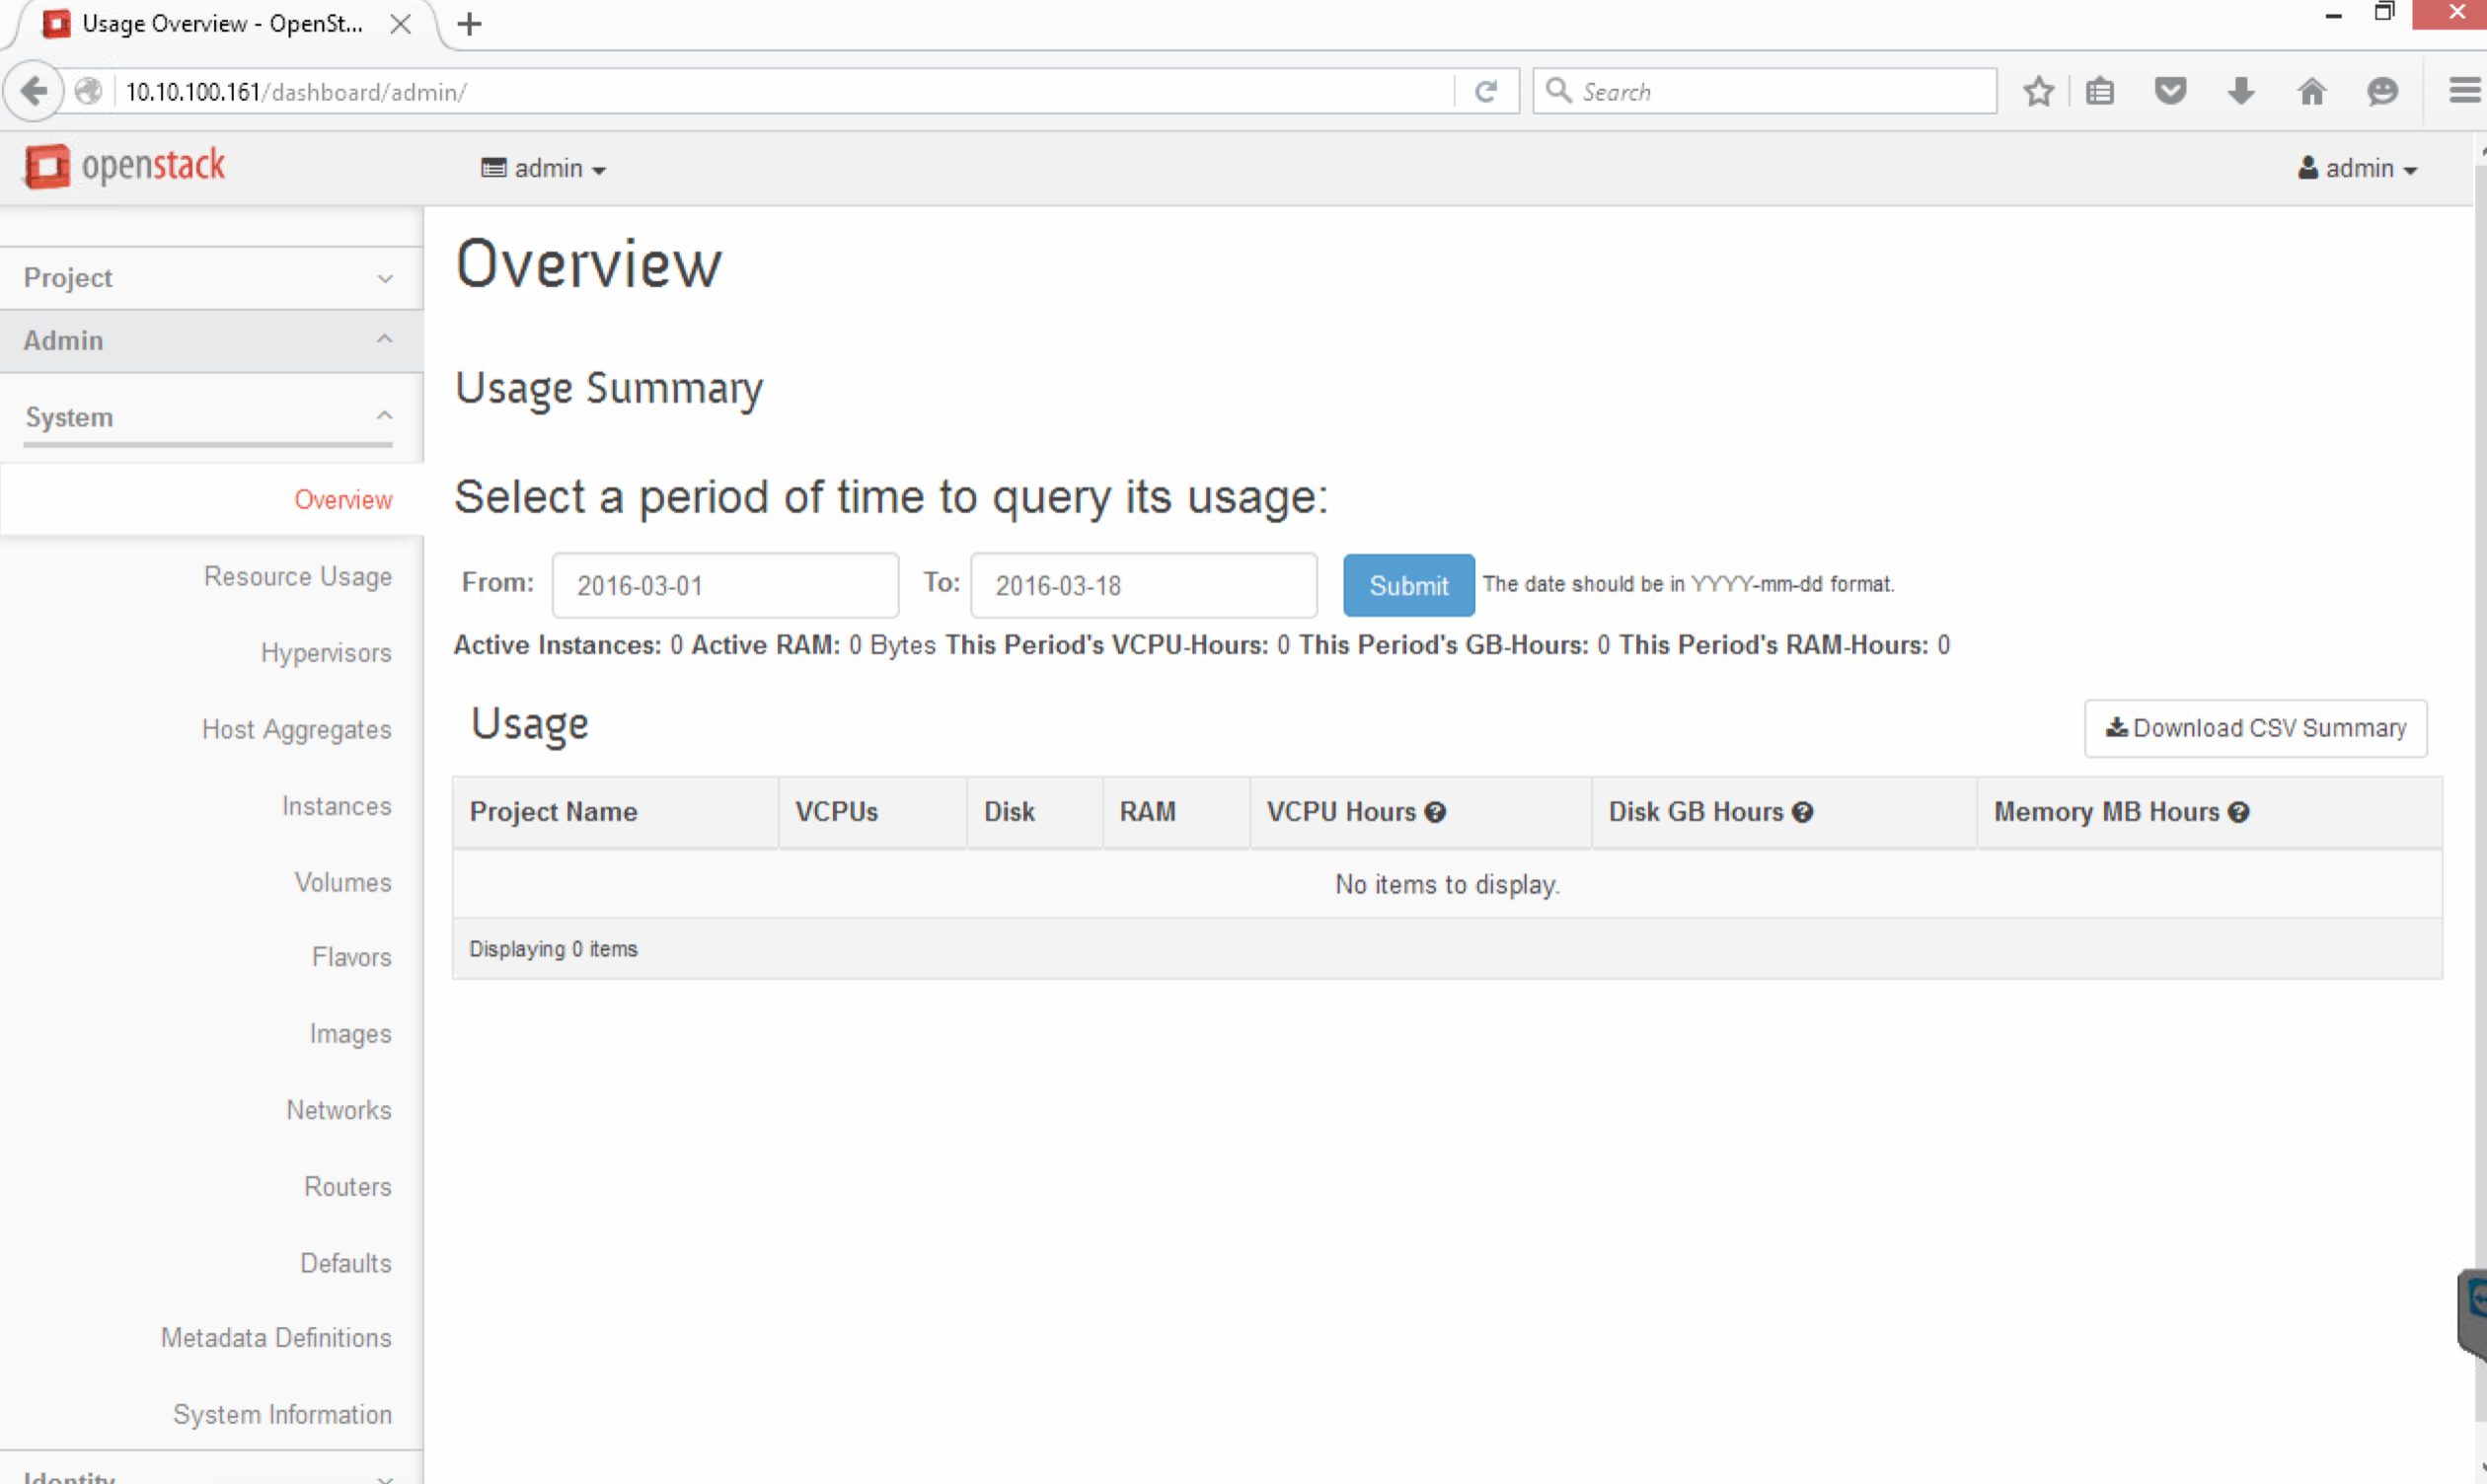
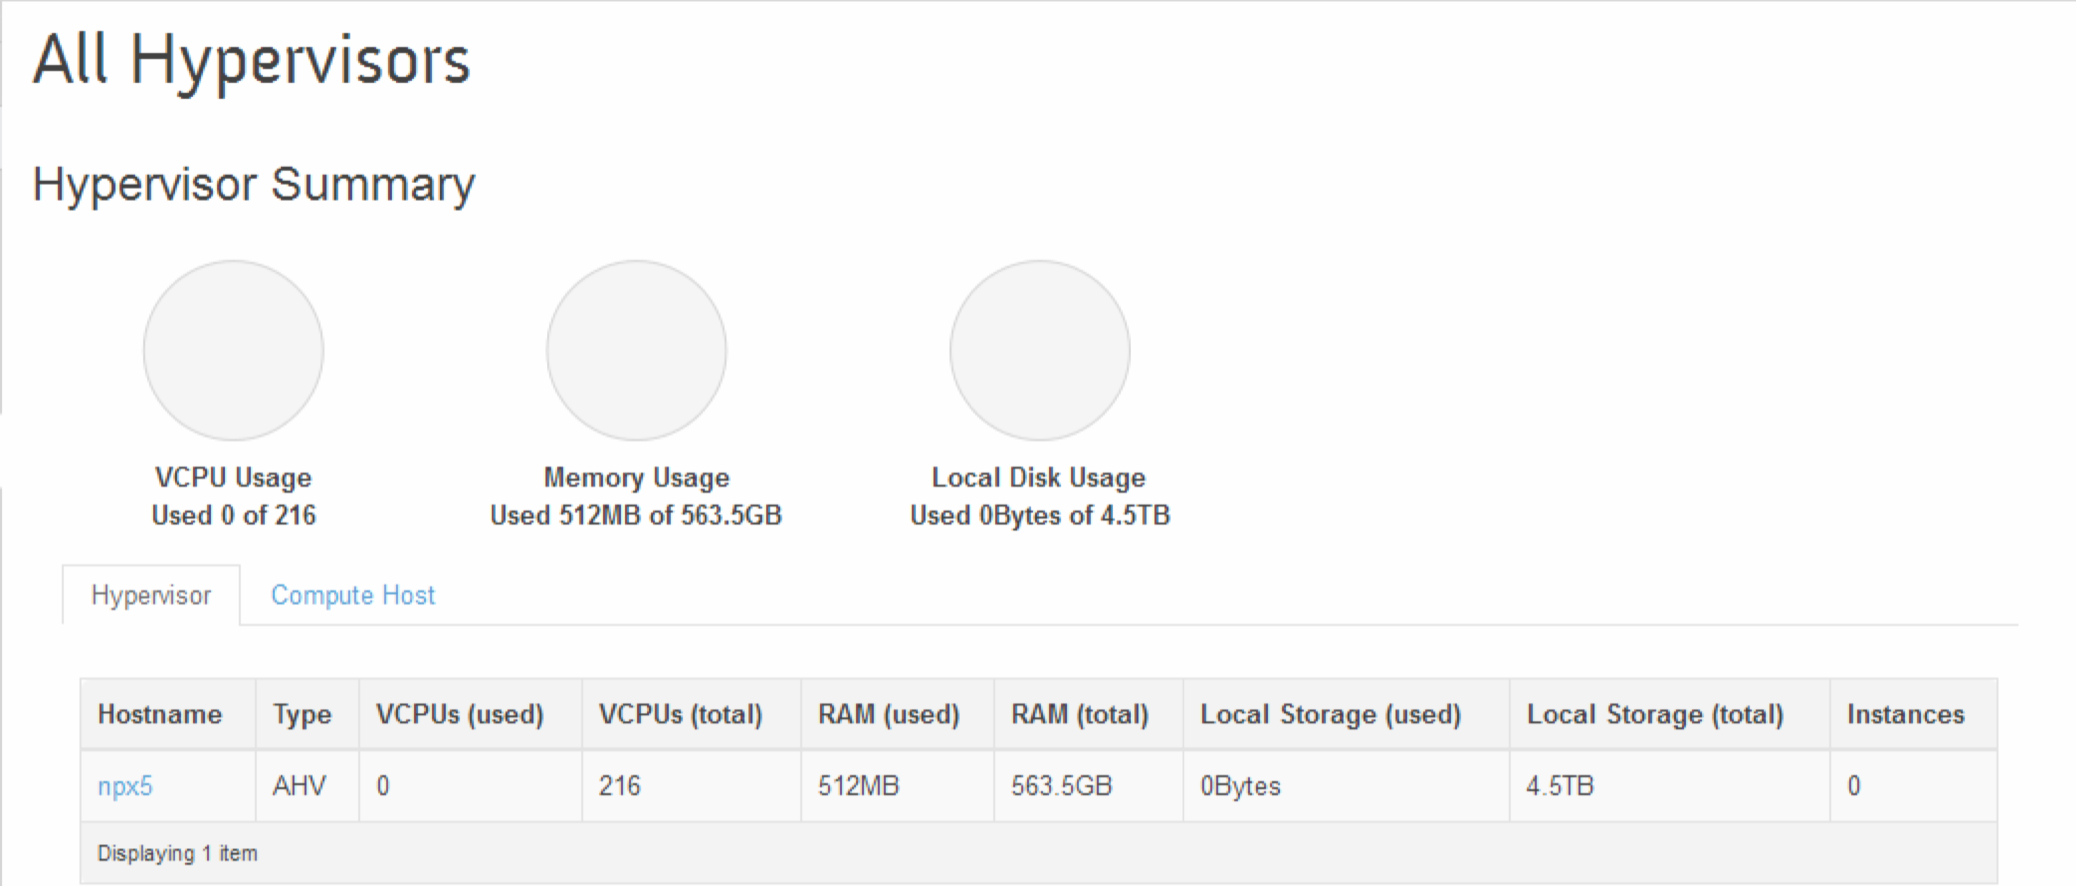
- Verify the Hypervisor, the Nutanix cluster is successfully displayed in the UI
- Browse to using https://10.10.100.161 and log in using admin/admin
Yes, i know i’m employees by Nutanix but this is by far the easiest and fatest OpenStack deployment i have ever seen. The footprint is just one single VM using 4 vCPUs and 16 GB Memory compared to multiple VMs for many other solutions.
Next part will be about OpenStack Projects and can be found here
When done reading this blog post, please proceed to part two, three and four in the blog series:
Nutanix OpenStack Part II – Project & User Management
Nutanix OpenStack Part III – Network Management
Nutanix OpenStack Part IV – Image management
4 pings