
The other blog posts in the series are:
- Nutanix Self Service Portal Part I – Preparation & Initial Configuration
- Nutanix Self Service Portal Part III – Roles
- Nutanix Self Service Portal Part IV – Images
- Nutanix Self Service Portal Part V – VM management
- Nutanix Self Service Portal Part VI – Catalog Items
You can create Project or Roles as your second step for SSP and in my case i’ll take care of Projects and it will include the following:
Create Project
. Follow the below procedure to setup the required Projects and add correct users.
- Log in to SSP using an administrator account which is either the Nutanix Cluster local admin account but it’s way better for e.g. traceability reasons to use one of the Active Directory (AD) defined users:
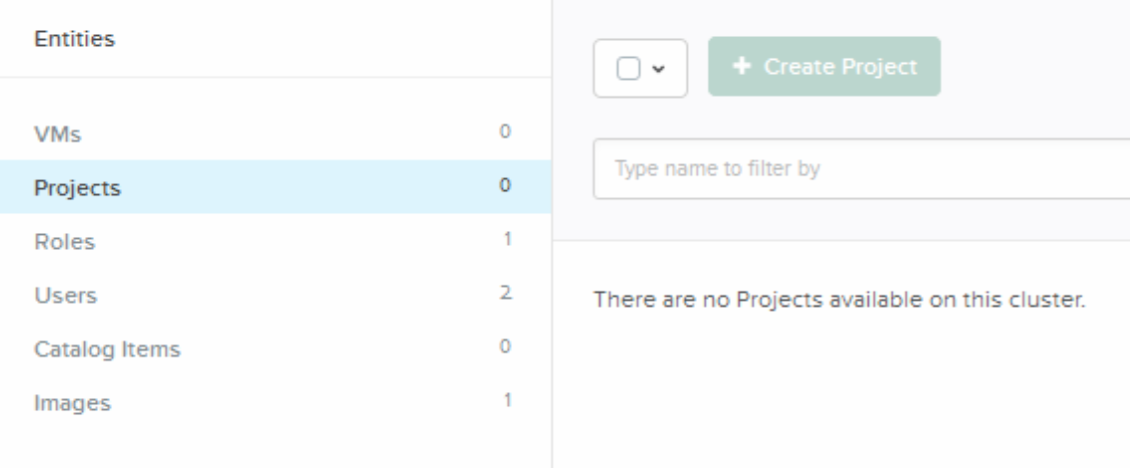
- Click Projects on the left hand side and then Click the Create Project.
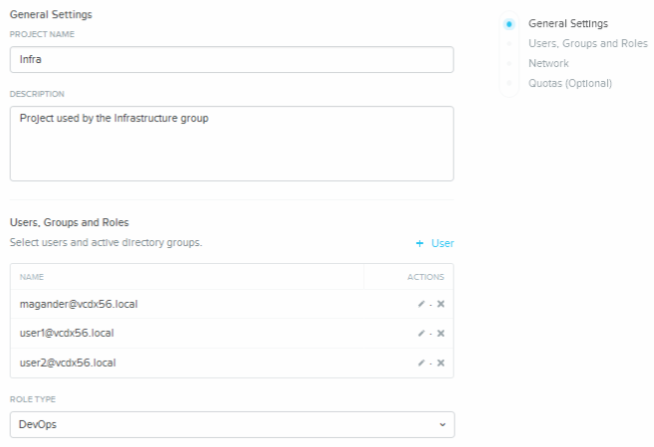
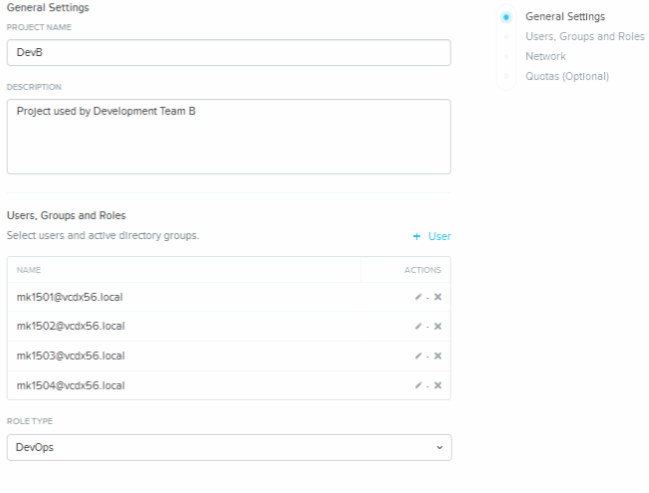
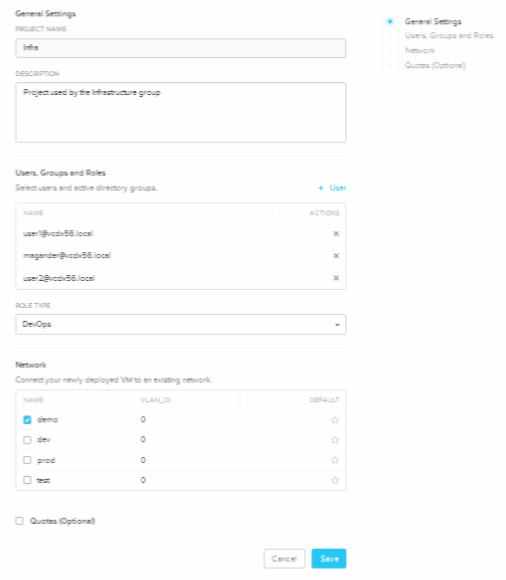
- Fill in the required information:
- Project Name
- Description
- Users, Groups and Roles
- Role Type
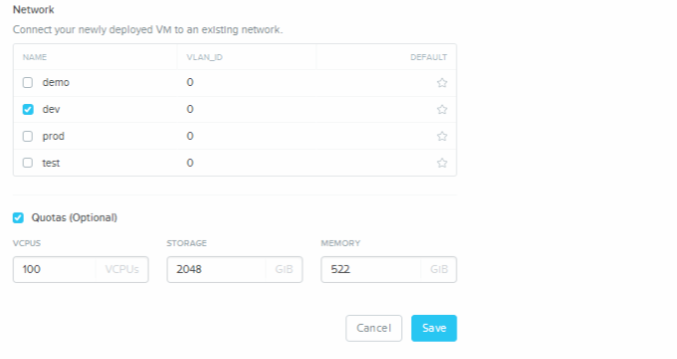
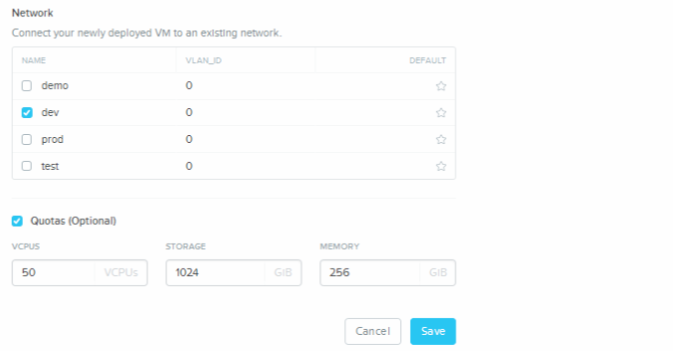
- Network
- Quotas
I used the following information to create my three Projects mentioned in the Nutanix Self Service Portal Part I – Preparation & Initial Configuration
- Infra Project
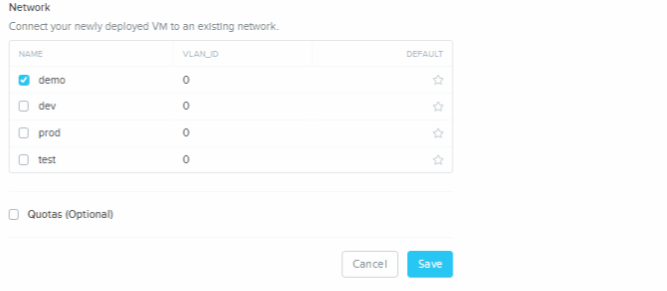
No quota needed for the Infra team, they’ll always behave:) - DevA Project

- DevB Project
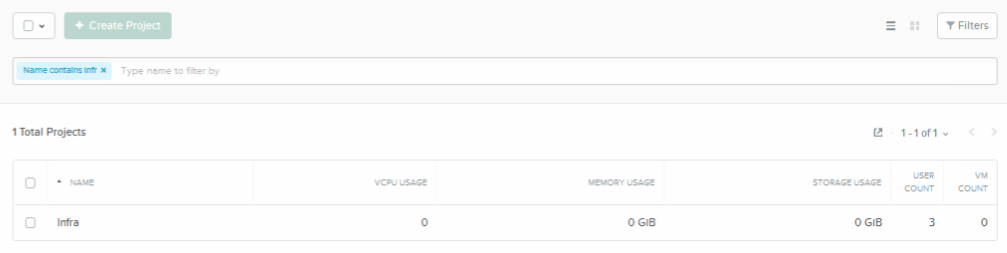
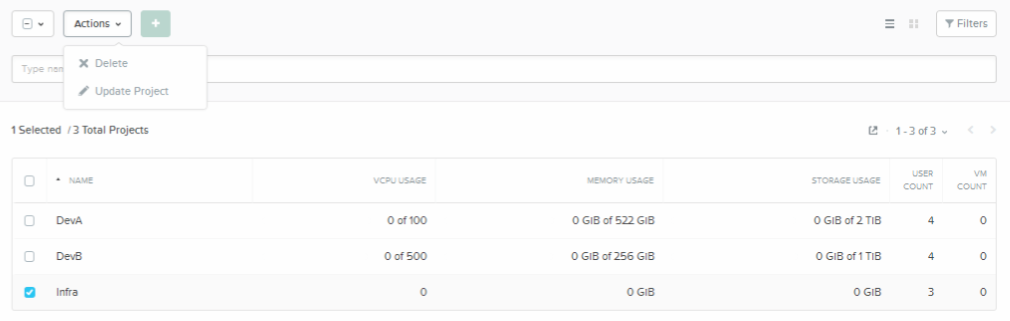
When done i’ll have three projects and just click Projects and they will all be displayed on the right hand side.

The filter functionality is really powerful when you have a ton of objects but not needed in my case for the Projects view since i only have three of them. It will be useful for e.g. VMs and the filter functionality is available for all entities:
- VMs
- Projects
- Roles
- Users
- Catalog Items
- Images
Anyway, just type what you are looking for and the result will be displayed for you below the filter bar.
Access Your Project
You can access the different Projects as an administrator or as a Project Member.
SSP Administrator
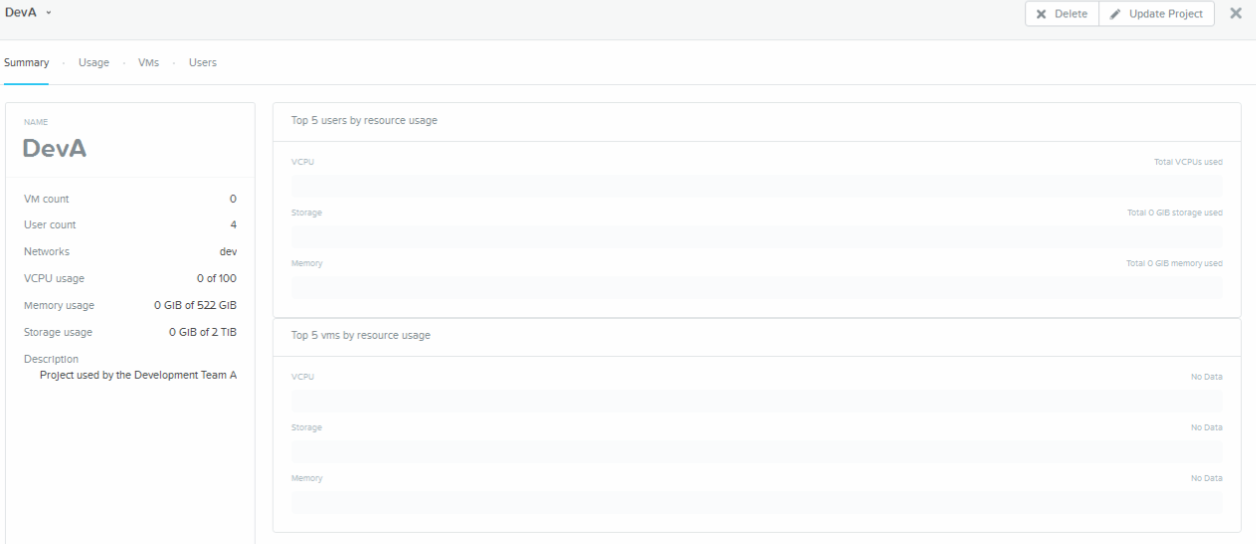
As a SSP administrator you can access the Projects via the Projects View by simply clicking the Project, in my case DevA and this will give you 4 Views
- Summary that will display summary of:
- VM Count
- User Count
- Networks
- VCPU usage
- Memory Usage
- Storage Usage
- Description
- Top 5 Users by resource usage
- Top 5 vms by resource usage
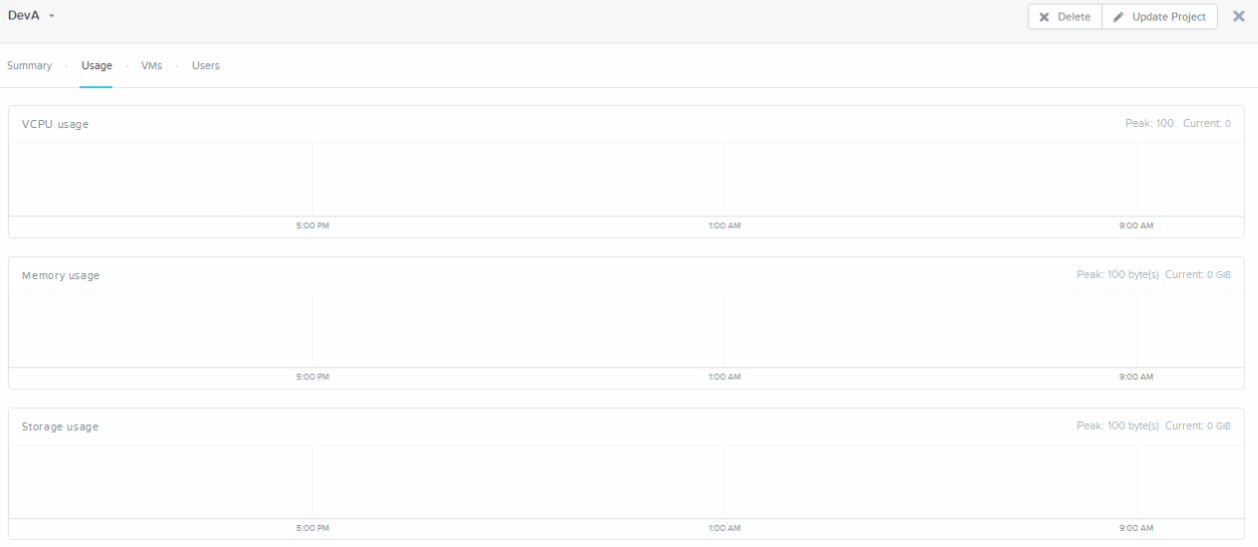
- Usage which includes utilisation over time for:
- vCPU
- Memory
- Storage
- VMs which includes the following on a per VM basis:
- Name
- User
- Virtual CPU Count
- Memory Capacity
- Disk Capacity

- Users which includes the following on a per user basis:
- User Name
- Total VMs
- CPU Allocation
- Memory Allocation
- Storage Allocation

SSP Project Member
As a project member you access the Nutanix Prism Self Service interface via http://Nutanix-Cluster-IP_or_FQDN/ssp which will direct you to https://Nutanix-Cluster-IP_or_FQDN:9440/ssp
- Log on to Nutanix Prism Self Service as Project User:

- Manage your VMs or create new once.

No VMs exists so we’ll revert back to this in a later blog post.
Update & Delete Projects
You can easily Update or Delete your Project by clicking the check box next to the Project Name and Select Update or Delete via the Actions drop down list.
The Update Project will bring up the same screen as the initial Projects configuration screen. Perform the necessary changes and click Save
The Delete option will bring up a confirmation screen that you want to Delete the project. Just click OK and you’re done.

The other option would be to Update or Delete the Project from the Project itself after clicking the Project from the Projects view when logged in to SSP as an administrator.