
—————————————————————-
This blog post will cover Nutanix Network Visualization which is pretty handy when you need to further increase visibility into your datacenter infrastructure. The network visualization provides e.g. the logical to physical network mapping in Prism including VMs, AHV Hosts and physical switches and you can read more about about prereqs, supported switches here.
With correct configuration you’ll populate both the Network and the Hardware (Switch tab) sections with useful information. Without any configuration in place these sections will look like this:
- Network

As you can see the Port Data to the right is unavailable - Hardware -> Table -> Switch

In my lab, which I have blogged about here, I have one Arista switch (2×10 Gbps connections per AHV host) and one Cisco switch (1×1 Gbps connection per AHV Host) and from a switch perspective I’ll configure the Arista switch.
Arista
Arista supports multiple SNMP versions and for this blog post I’ll make it is simple as possible and use SNMP version v2. The following configuration was added to the switch:
- LLDP – Enabled on switch level (not limited to a specific set of ports)
- SNMP
- Community
- Contact
- Location
The following commands, apart from enable, config & wr, were used to configure the switch.
- snmp-server community npx5 ro
- snmp-server contact Magnus Andersson
- snmp-server location homelab
- lldp run
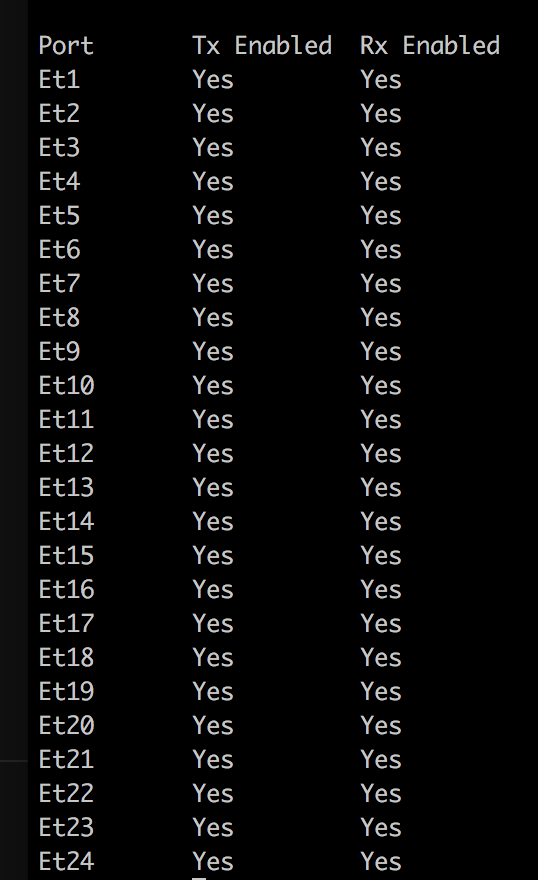
The command “show lldp” can be used to verify the lldp configuration and the below output shows the switch ports lldp configuration:
There is an option to disable lldp transmit and receive per switch port and in that case you just run the below command(s) for the specific switch port(s):
- no lldp transmit
- no lldp receive
Nutanix
As usual you can configure the Nutanix part using either Prism UI or via command line (REST API or ncli). In this case I’ll use ncli commands. The following configuration were added to the Nutanix cluster:
- One SNMP Profile
- One SNMP Switch
The following commands were used:
- ncli net add-snmp-profile community=npx5 name=aristanpx5 version=snmpv2c

- ncli net add-switch-config snmp-profile-name=aristanpx5 switch-address=192.10.110.253 host-addresses=192.10.110.121,192.10.110.122,192.10.110.123

From ncli you can list the switch information by running the below command:
- ncli net list-switch

In PRISM there are now much information displayed via the Network and Hardware->Switch sections>
- Network

- If you click on one of the Ethernet ports (in my case Ethernet5) you’ll get additional information from the switch.

- If you click on one of the Ethernet ports (in my case Ethernet5) you’ll get additional information from the switch.
- Hardware -> Table -> Switch – This is the same information you can get via Network -> Click the Switch Name.

If you want to use PRISM for the configuration you can do that by following the below steps:
- Click gear icon to the top right and select Network Switch

- Click “SNMP Profile” and the “Add SNMP Profile”

- Fill out the SNMP Profile information and click Save

- Click “Switch Configuration” and then “Add Switch Configuration”

- Fill out the Switch h Configuration and click Save

Easy configuration to get much more information about your DC network connected to your Nutanix AHV environment.
4 pings